Showing posts with label General Reference. Show all posts

How to Increase Your iPhone Call Volume Using Volume Amplifier [Video]


These are instructions on how to increase or boost your iPhone 5 call volume on iOS 6 using Volume Amplifier ($1.99) by Yaniv Danan.

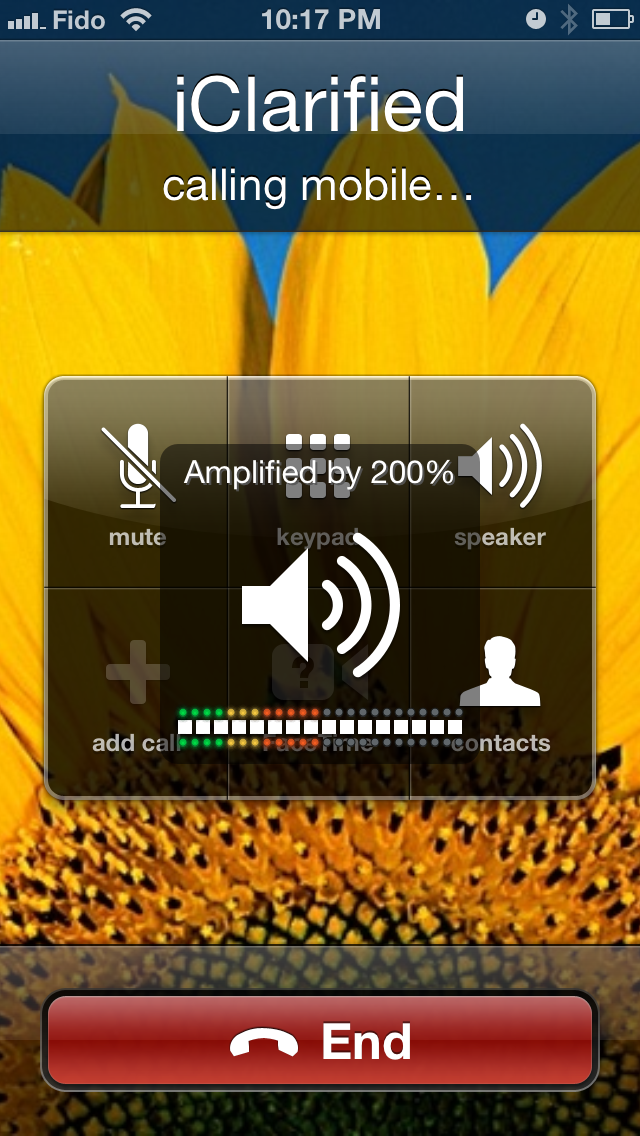
Volume Amplifier fixes the problem of quiet audio by directly manipulating the speaker audio stream and amplifying it by up to 200%.

The difference between Volume Amplifier and other Voice boosting tweaks out there on Cydia is that it does not alter a specific OS configuration file (which actually don't work), it actually manipulates the audio stream in such way that you will really notice the difference.


Step One
Jailbreak your iPhone if you haven't jailbroken your device already.

Step Two
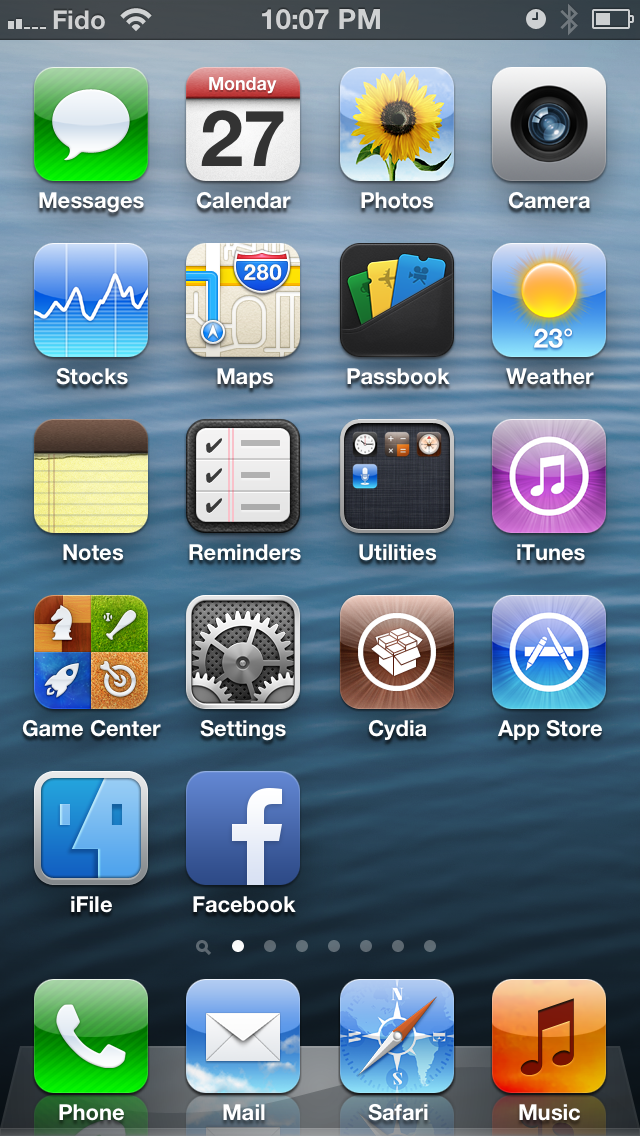
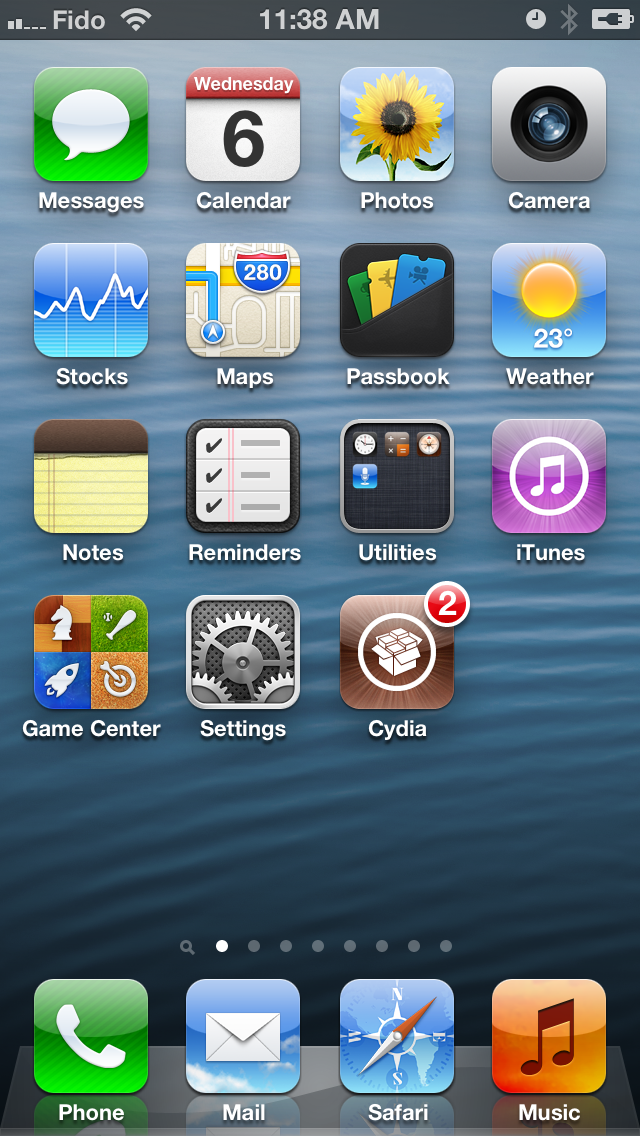
Tap to launch Cydia from your Springboard.

Step Three
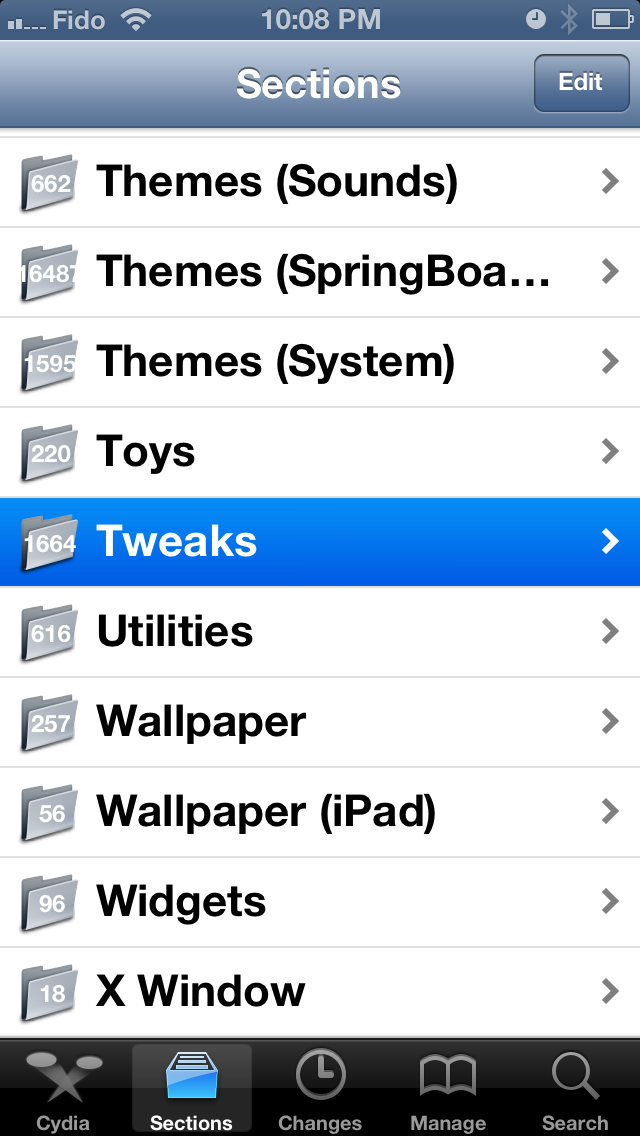
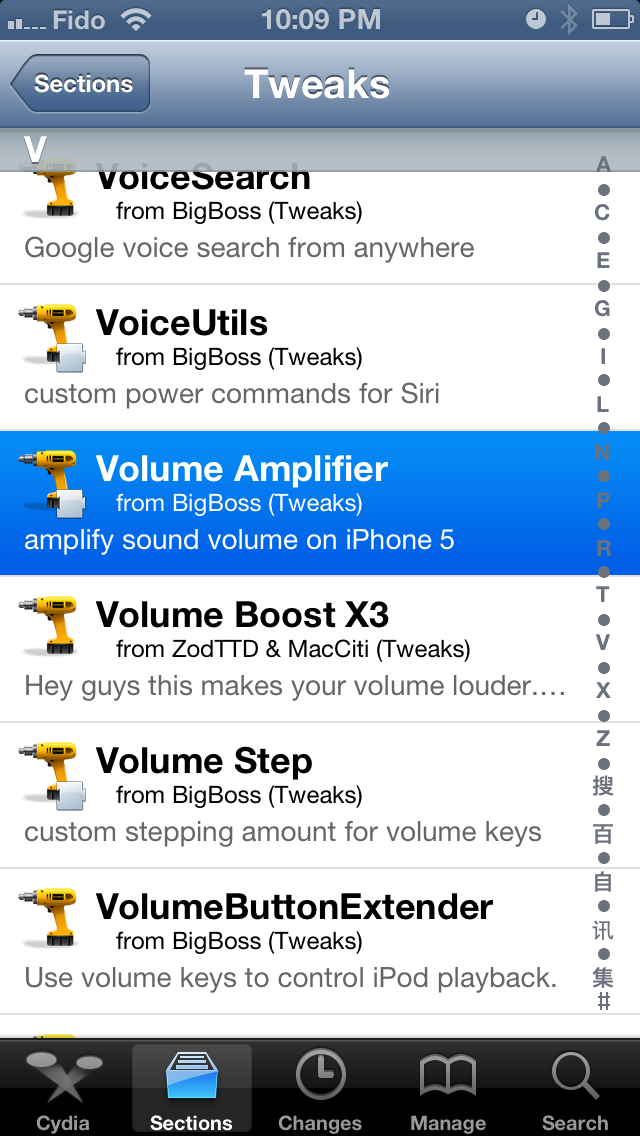
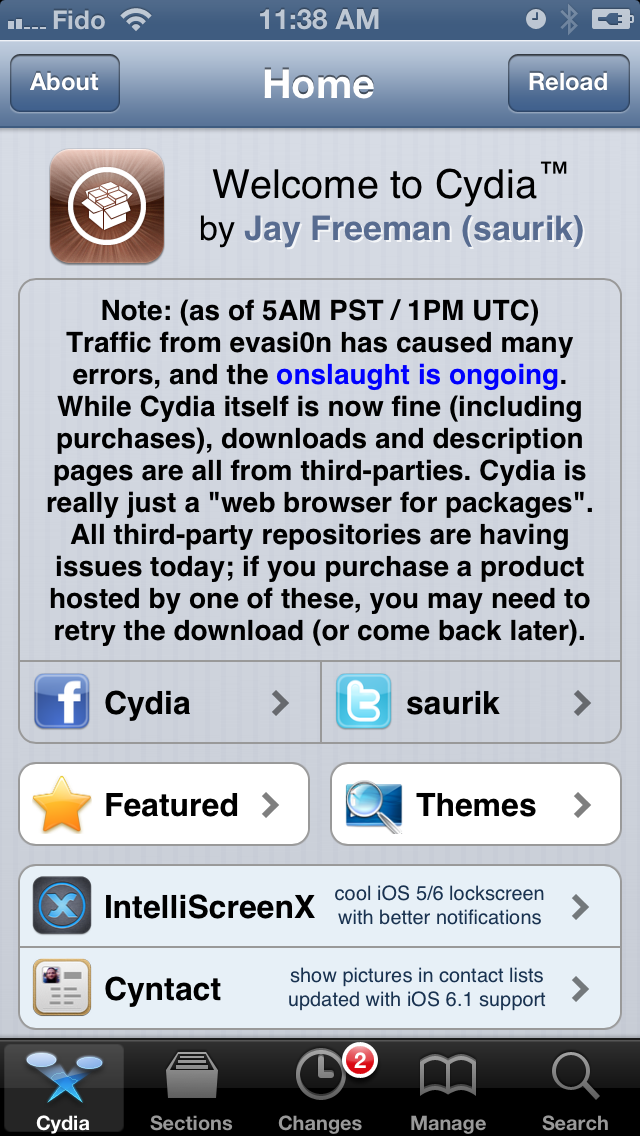
Press the Sections tab at the bottom of the screen.

Step Four
Select Tweaks from the list of Sections.

Step Five
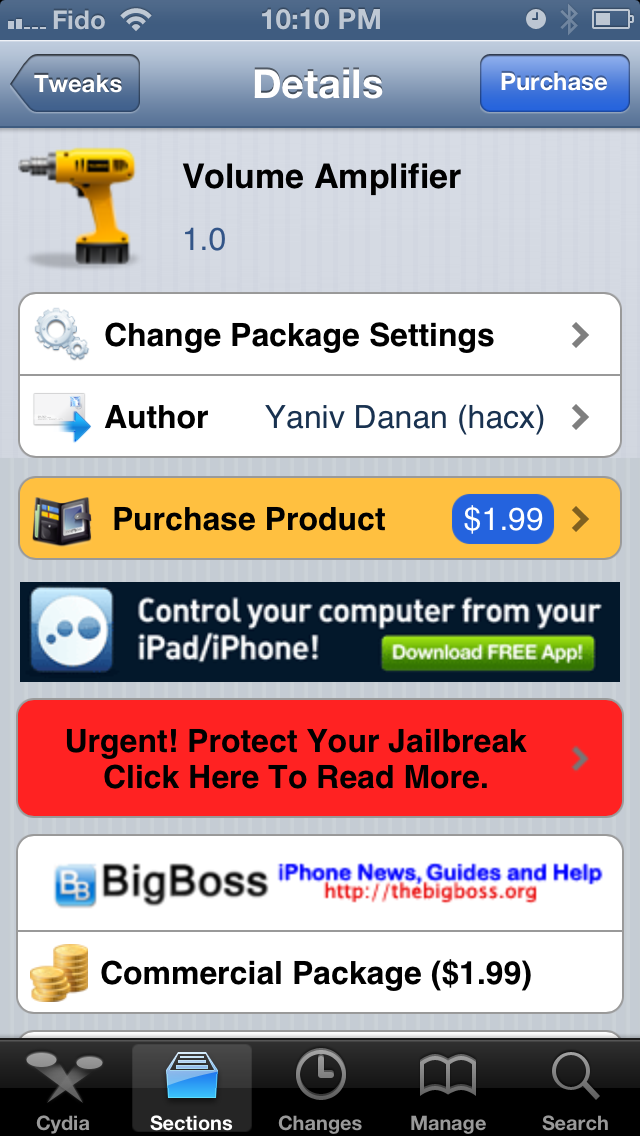
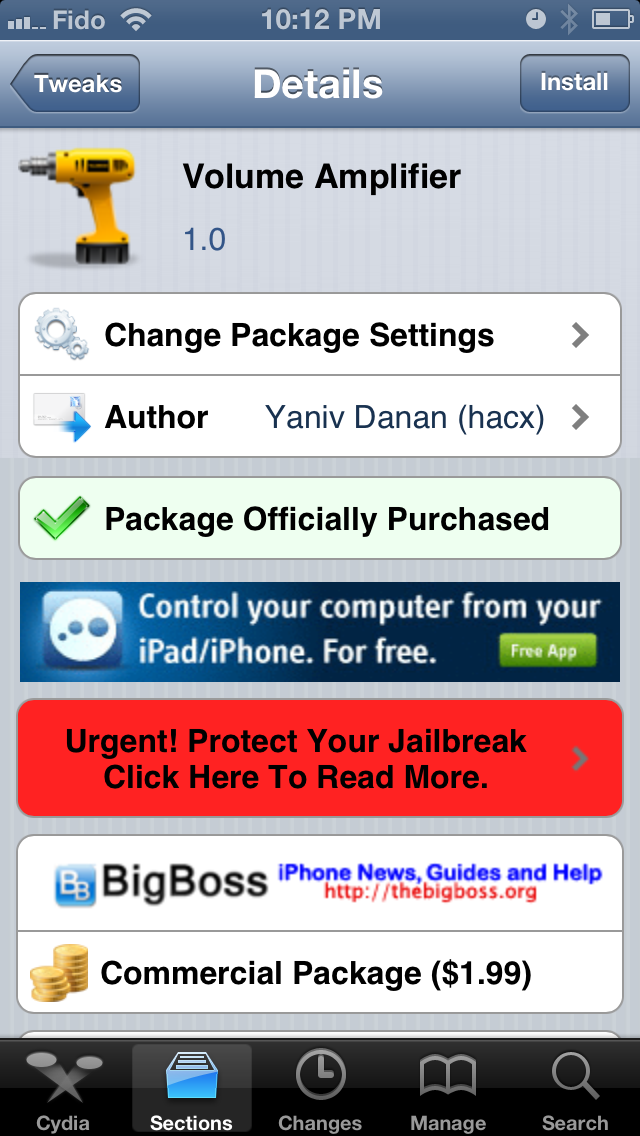
Choose Volume Amplifier from the list of Tweaks.

Step Six
Press the Purchase button at the top right of the screen.

Step Seven
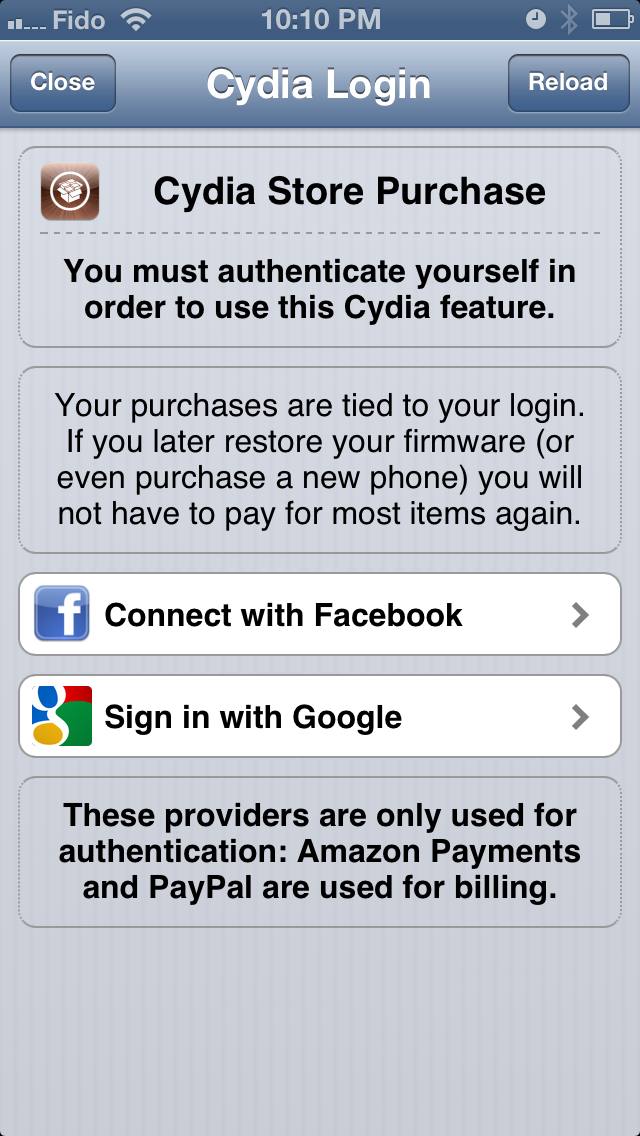
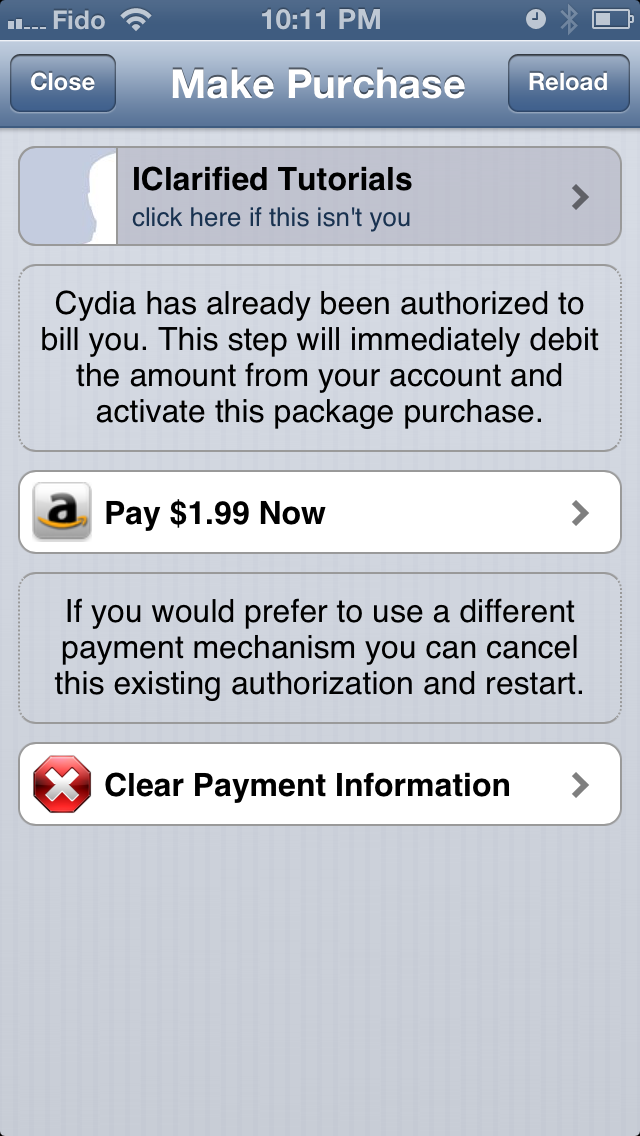
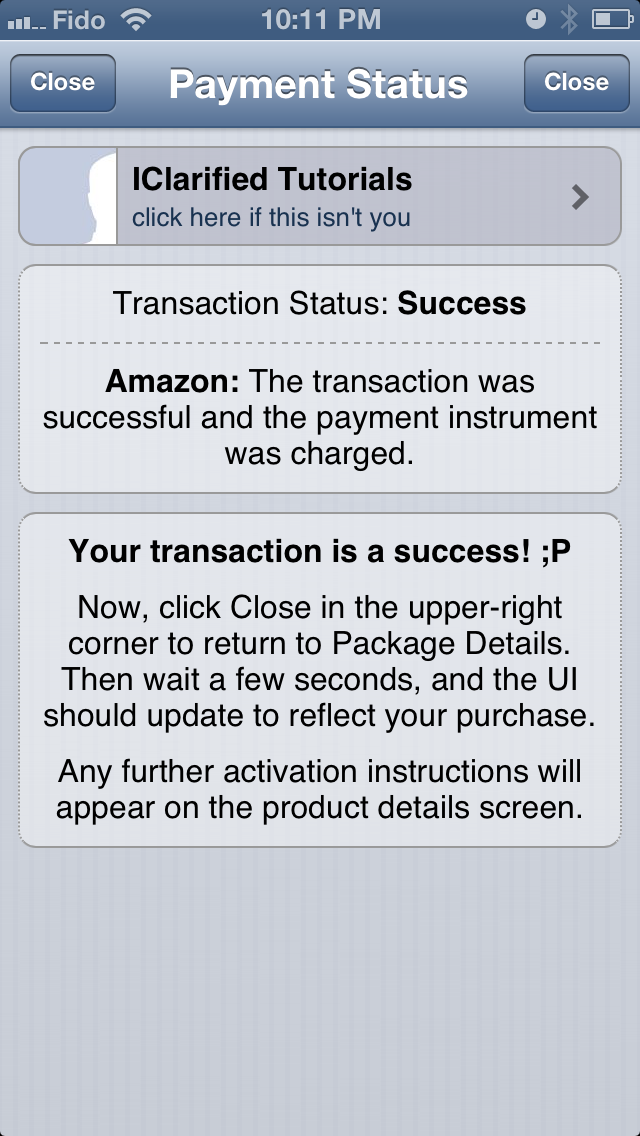
Connect to your Facebook or Google account and pay the required payment of $1.99.

Step Eight
When returned to the package page, press the Install button at the top right of the screen.

Step Nine
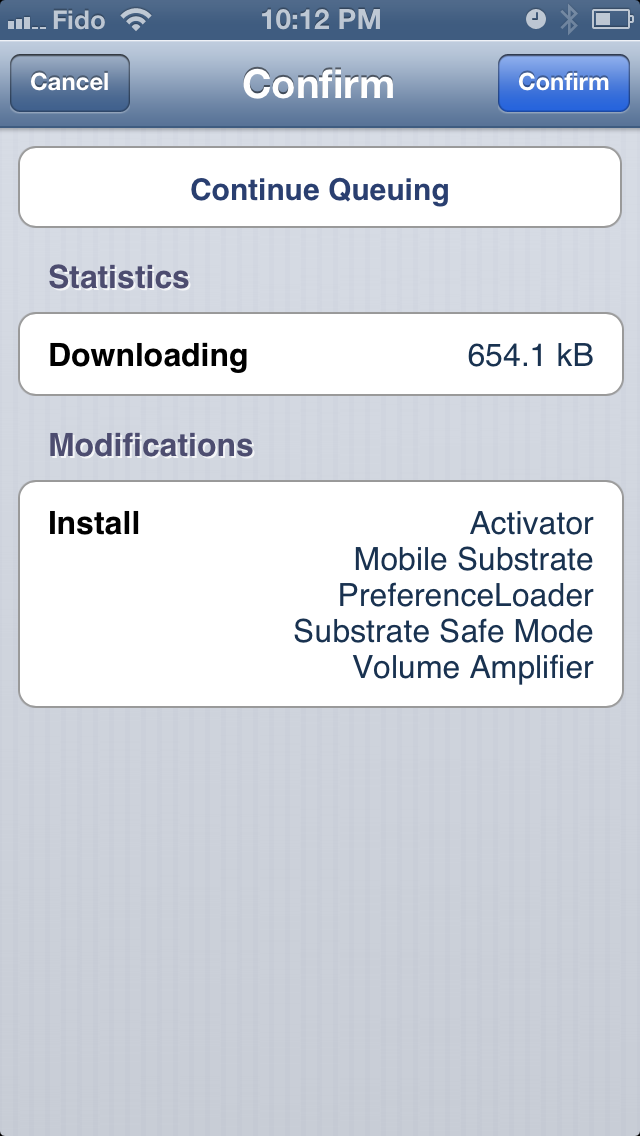
Press the Confirm button to begin installation.

Step Ten
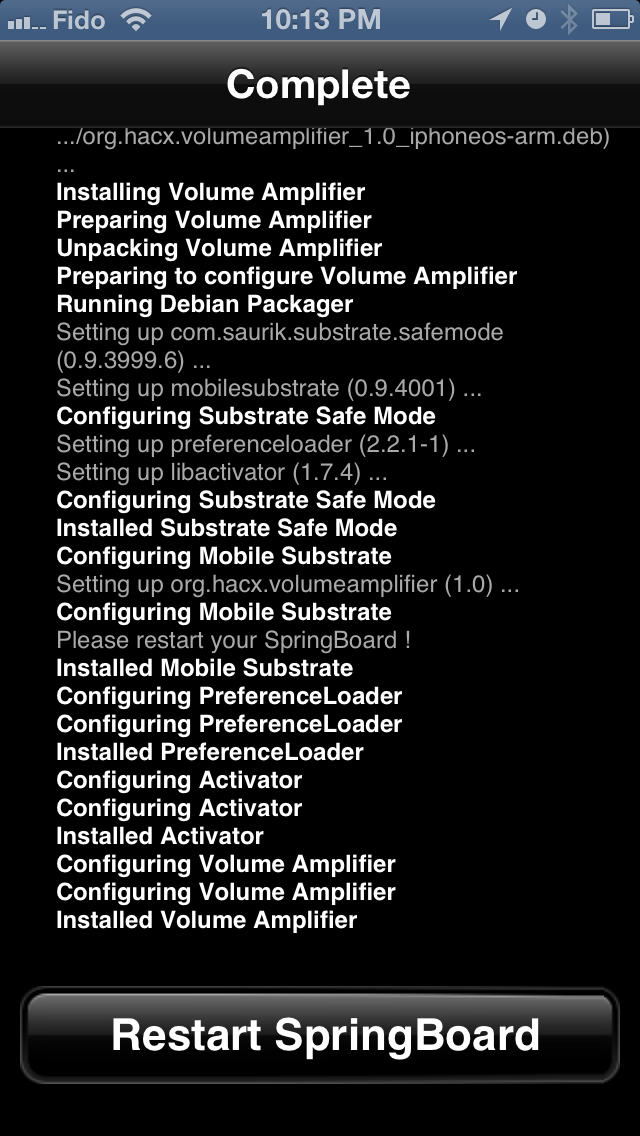
Once installation has completed successfully press the large Restart SpringBoard button.

Step Eleven
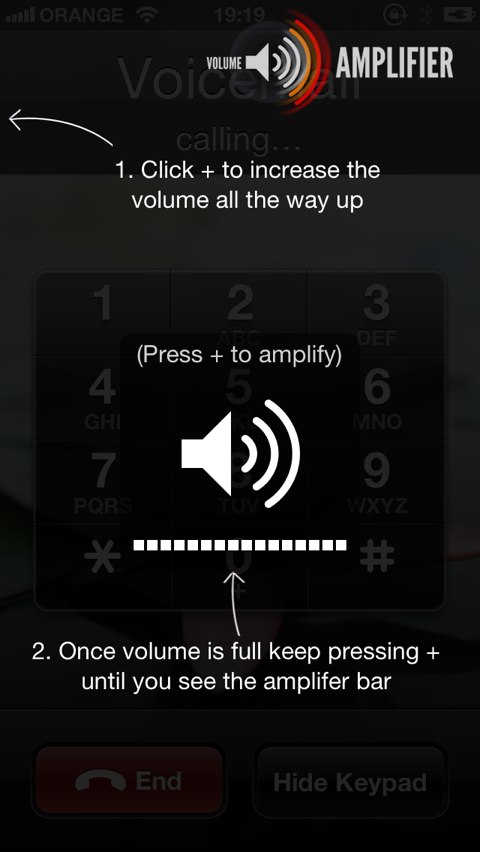
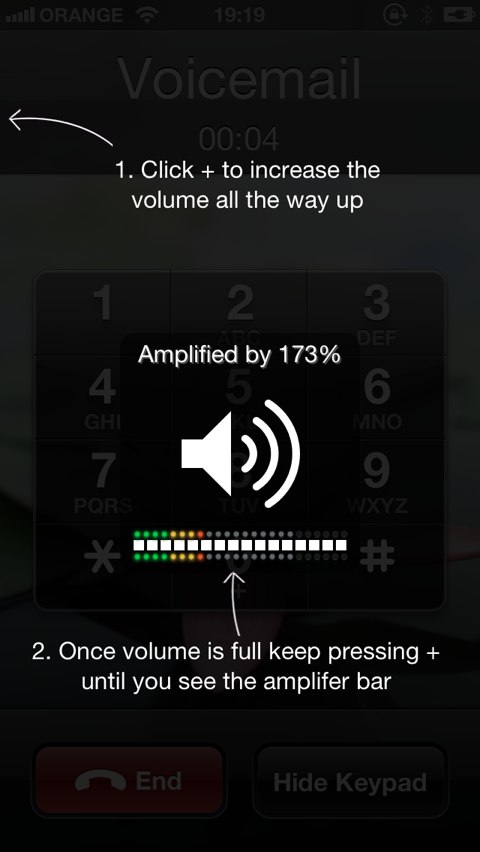
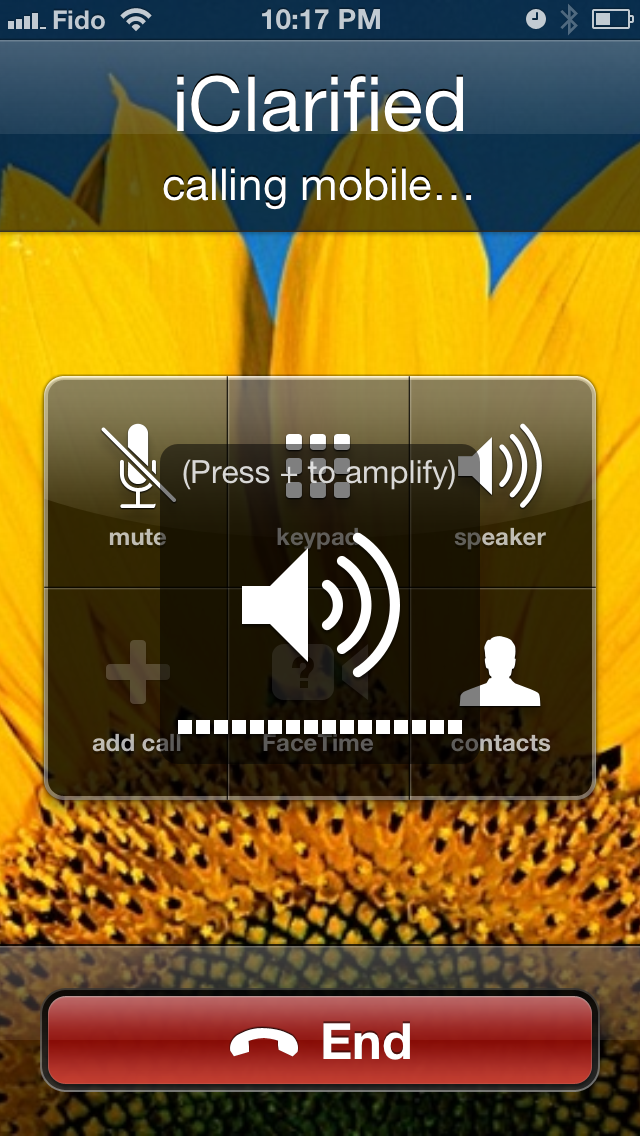
Once your SpringBoard has restarted, tap the Phone icon and make a call. When on a call press the volume up button at the side of your device. A new screen will appear letting you know how much you've boosted the volume of the call.


How to Enable System-Wide Facebook Chat Heads on iOS Using MessageBox

How to Enable System-Wide Facebook Chat Heads on iOS Using MessageBox


These are instructions on how to enable system-wide Facebook Chat Heads on iOS using MessageBox by Adam Bell.

UPDATE:
Message Box has now been released in Cydia so it will be easier for most to just install it directly from Cydia rather than use these instructions.

Step One
You need jailbroken device to install MessageBox.

Step Two
Install iFile and MobileSubstrate from Cydia. Of course, you also need Facebook installed from the App Store.

Step Three
Click this deb link using Safari on your mobile device.

Step Four
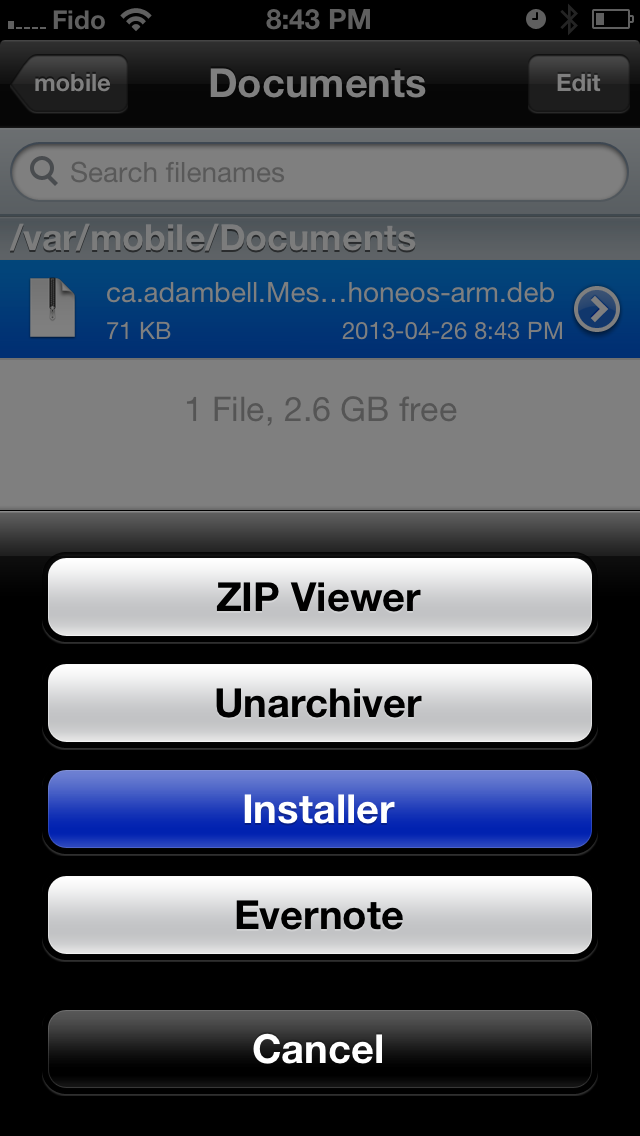
You will be prompted by Safari to choose an app with which to open the .deb file. Select iFile.

Step Five
When iFile opens tap the large Installer button.

Step Six
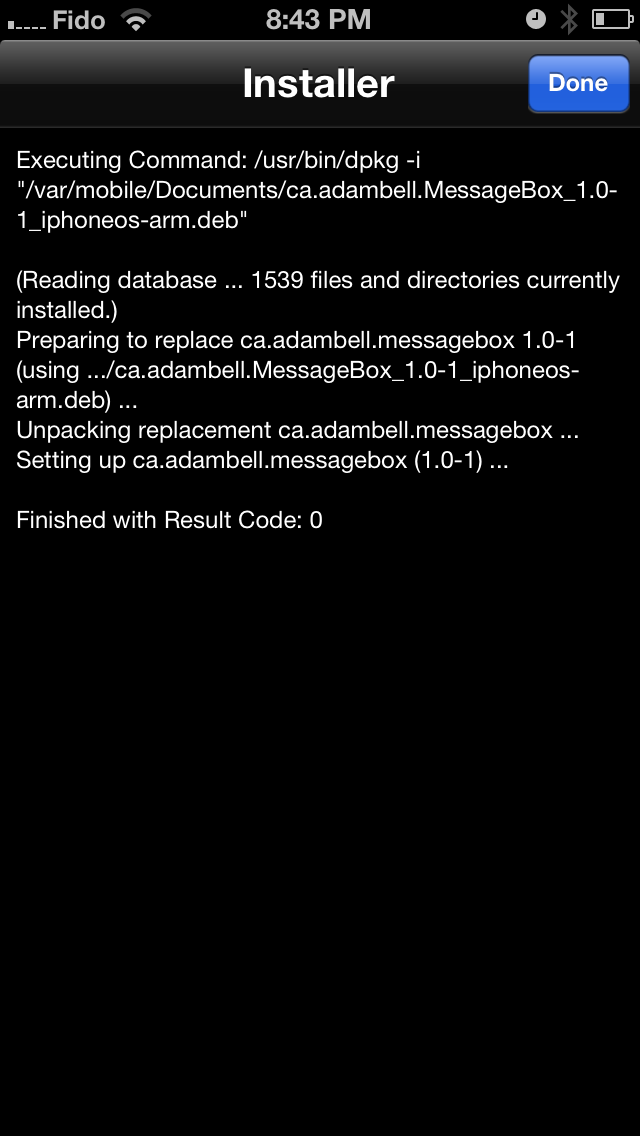
Once installation has completed successfully, tap the Done button at the top right of the screen.

Step Seven
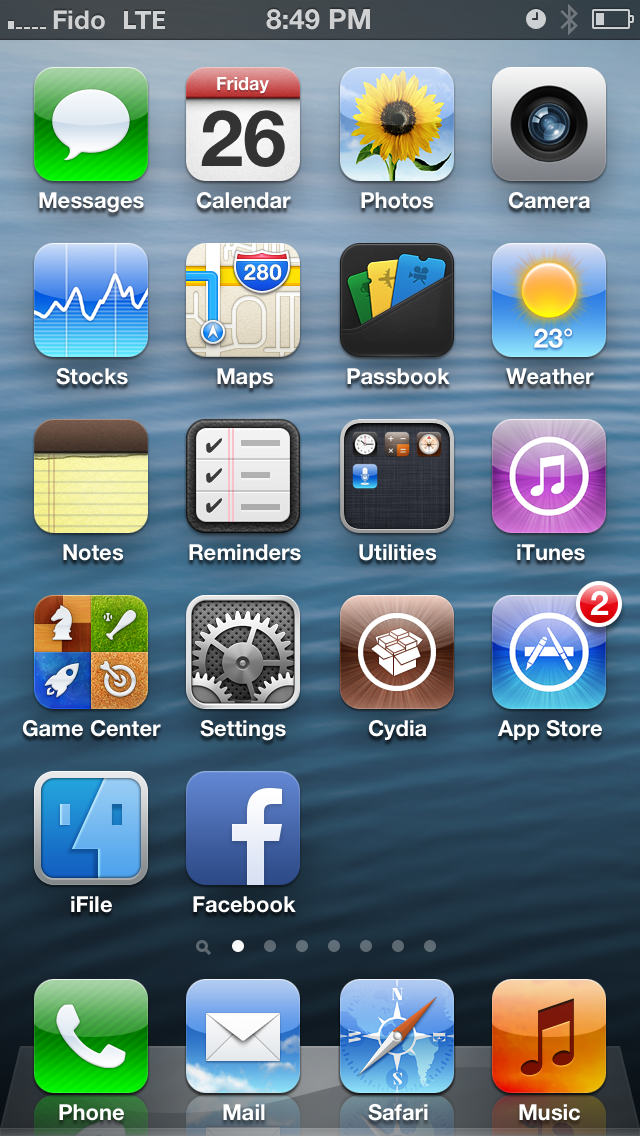
Reboot your iOS device then launch the Facebook app from your Springboard.

Step Eight
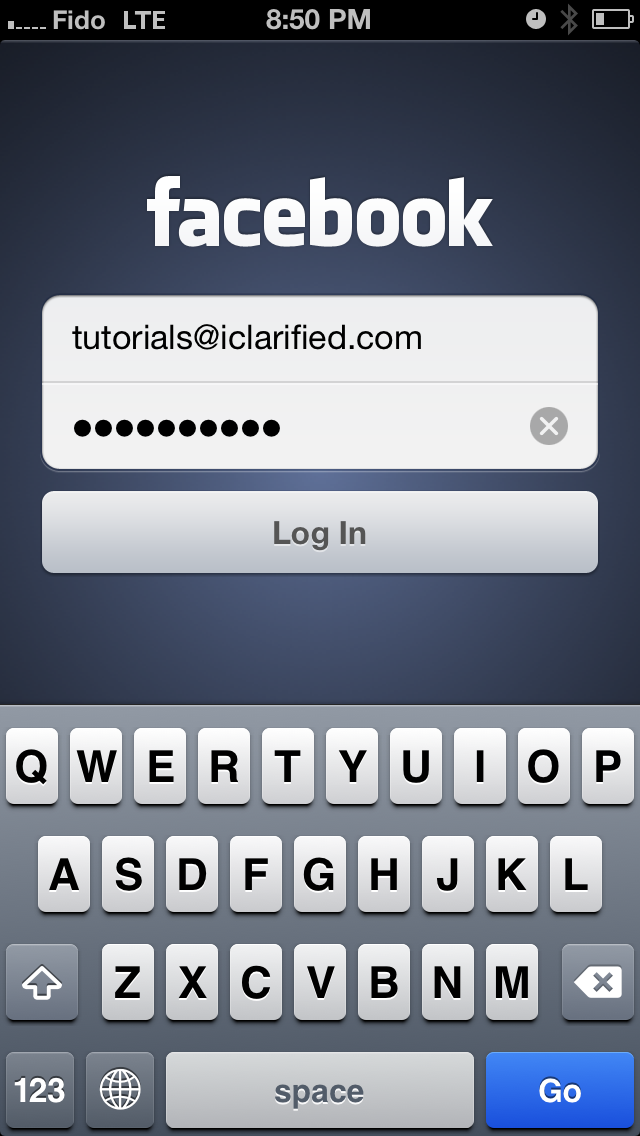
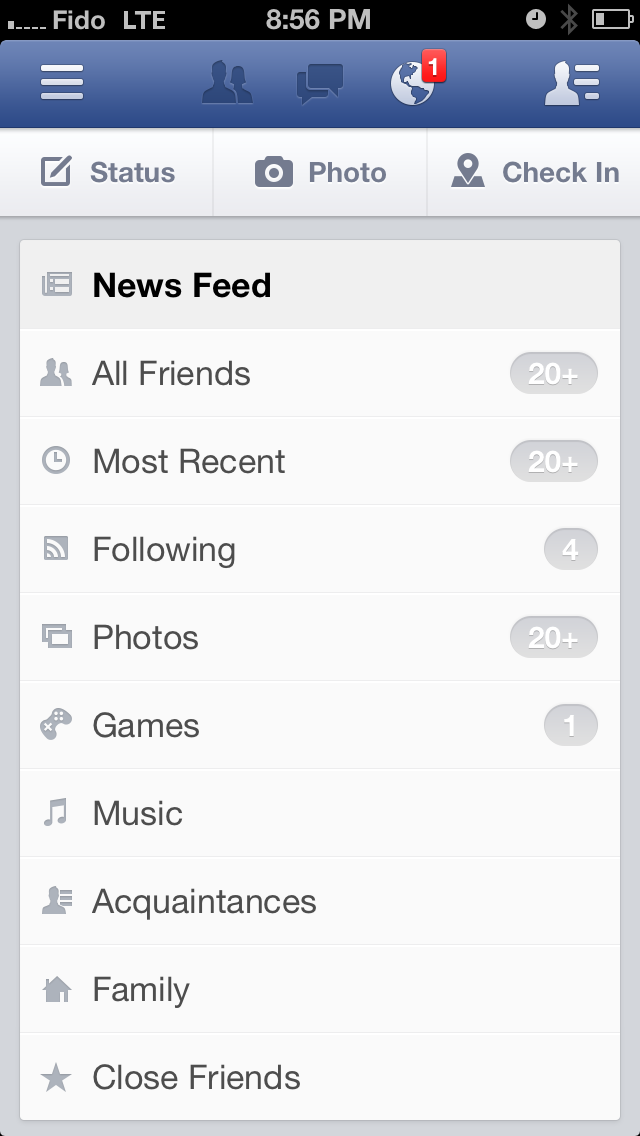
Log into Facebook then tap the button at the top right of the navigation bar to bring your friends list.

Step Nine
Select a friend to chat with from the list and you will notice a chat head appear.

Step Ten
Tap the home button and thanks to MessageBox the chat head will still be present over your Springboard!


How to Change the Location of Your iTunes iPhone Backups (Windows)

How to Change the Location of Your iTunes iPhone Backups (Windows)


These are instructions on how to change the location that iTunes uses to backup your iPhone, iPad, or iPod touch for Windows.

Step One
Press Windows+R on your keyboard to bring up to the Run dialog. Input cmd into the Open field and click OKto launch Command Prompt.

Step Two
Navigate to the MobileSync directory by inputting the following command and pressing Enter.

cd "%APPDATA%\Apple Computer\MobileSync"

Step Three
Rename your old backup folder using the following command.

ren Backup Backup_Old

Step Four
If you haven't created a new directory to store your backups please do so now.

Step Five
Input the following command to create a symbolic link to your new directory.

mklink /J "%APPDATA%\Apple Computer\MobileSync\Backup D:\temp\Backup"


Step Six
You can use Windows Explorer to verify the symbolic link was created. Notice the arrow at the bottom left of the icon.

Step Seven
Test out the change by performing a backup with iTunes and verifying that your files are backed up to the new directory.

How to Change the Location of Your iTunes iPhone Backups (Mac)

How to Change the Location of Your iTunes iPhone Backups (Mac)


These are instructions on how to change the location that iTunes uses to backup your iPhone, iPad, or iPod touch for Mac.

Step One
Launch Terminal from your Applications:Utilities folder.

Step Two
Navigate to the MobileSync directory by inputting the following command and pressing Return.

cd ~/Library/Application\ Support/MobileSync

Step Three
Rename your old backup folder using the following command.

mv Backup Backup_Old

Step Four
If you haven't created a new folder to store your backups please do so now. You can do this with Terminal or Finder, or you can use an existing folder.

Example: mkdir /Volumes/Storage/iTunes/MobileSync/Backup

Step Five
Input the following command to create a symbolic link to your new folder.

ln -s /Volumes/Storage/iTunes/MobileSync/Backup ~/Library/Application\ Support/MobileSync

Step Six
You can use Finder to verify the symbolic link was created. Notice the arrow at the bottom left of the icon.

Step Seven
Test out the change by performing a backup with iTunes and verifying that your files are backed up to the new folder.

How to Fix Weather App and Long Reboot Issues After Evasi0n Jailbreak


These are instructions on how to fix issues with the Weather app and long reboots after jailbreaking using Evasi0n 1.1 for iPhone, iPad, or iPod touch.

Update:
It appears that this fix may not work for those who have AppSync installed. Please remove it and reboot before attempting the fix. If you have already installed the updated packages please try to remove AppSync then reboot.

Step One
Launch Cydia from your SpringBoard.

Step Two
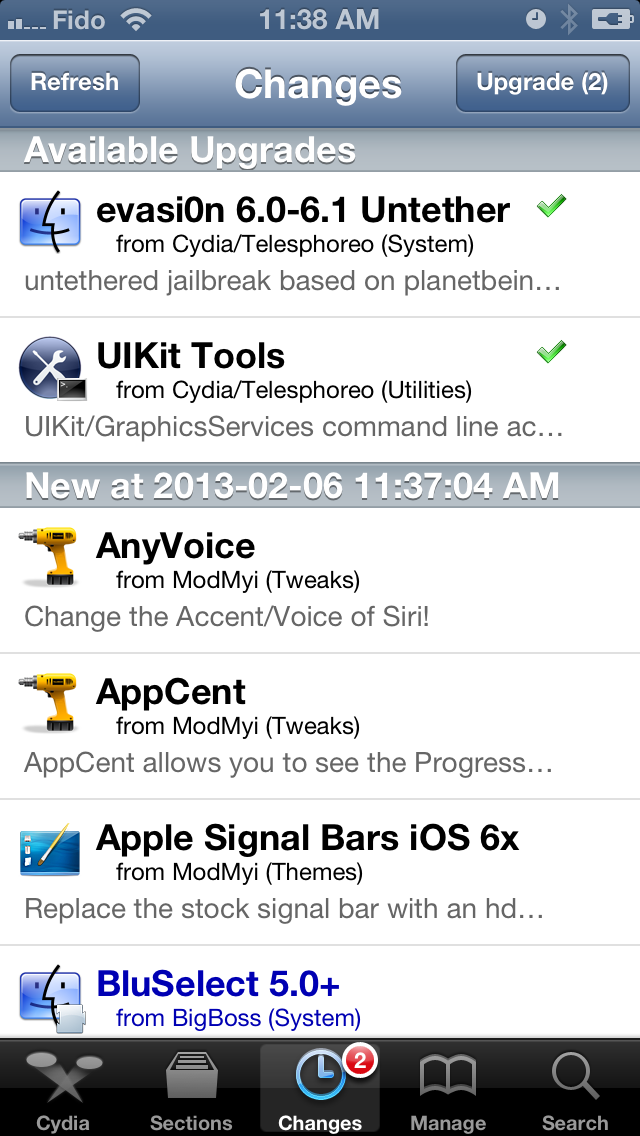
Press to select Changes from the list of tabs at the bottom of the screen.

Step Three
Make sure evasi0n 6.0-6.1 Untether and UIKit Tools are selected then click the Upgrade button at the top right of the device.

Step Four
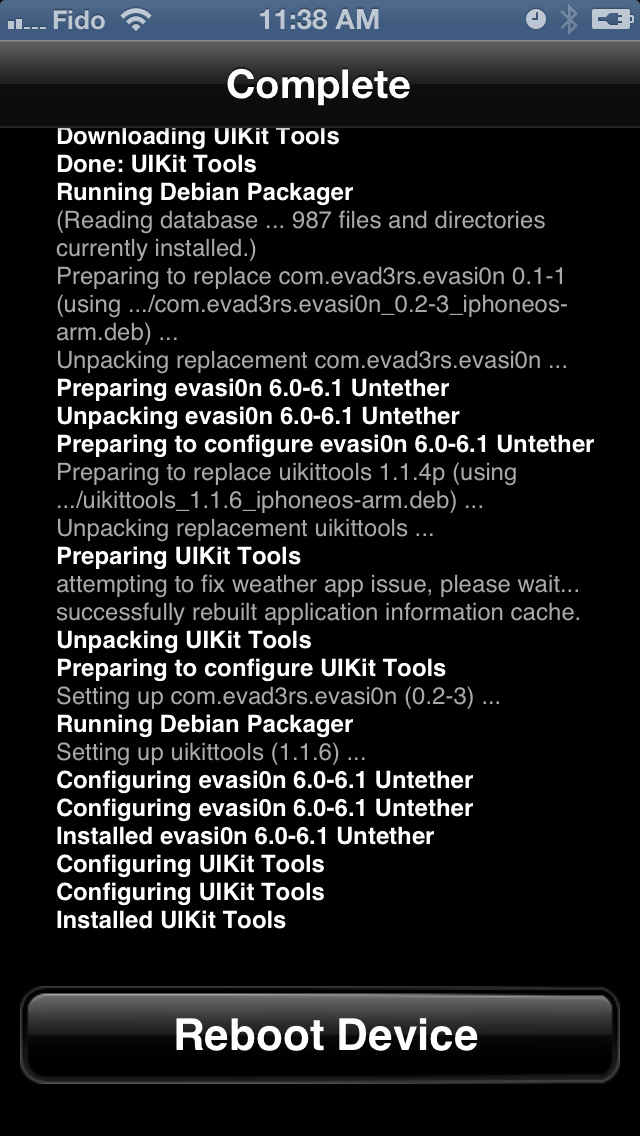
Click the Confirm button to begin installation.

Step Five
Once installation has completed make sure to click the large Reboot button and not the home button. Once your device has rebooted you should no longer have issues with the Weather app or long reboot.


*For those who are still experiencing this issue after following these steps, expect another similar update to appear in Cydia shortly.

How to Change Your iPhone or iPad Carrier Logo Without Jailbreaking

How to Change Your iPhone or iPad Carrier Logo Without Jailbreaking


These are instructions on how to change your iPhone or iPad's carrier logo without jailbreaking using CarrierEditor for Mac.

*Important: This will only work for carriers that use an image as their logo (ie. AT&T). It will not work for others that use text as their logo (ie. Sprint).

Step One
Download CarrierEditor from here and save it on your desktop.

Step Two
Navigate to your desktop then double click to mount the CarrierEditor dmg.

Step Three
Drag the CarrierEditor application your Desktop or Applications folder.

Step Four
Double click to launch the CarrierEditor application.

Step Five
Once the application has opened click the Let's Get Started button.

Step Six
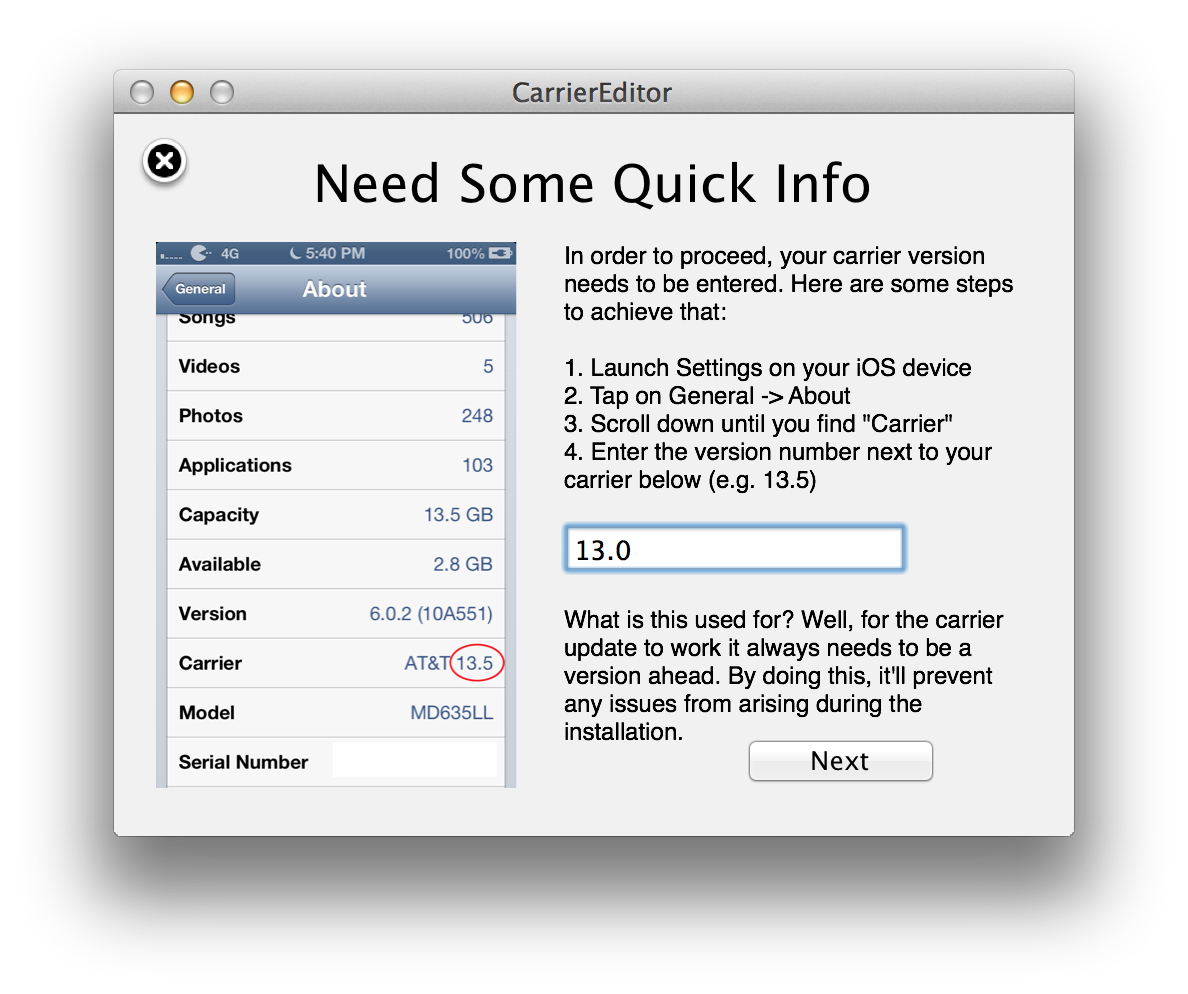
You will be prompted to locate your Carrier Version Number.

Step Seven
Launch Settings from the SpringBoard on your iPhone or iPad and choose General from the list of menu items.

Tap About from the General menu and locate the Carrier Version Number. The version number is located to the right of the carrier name. ie. AT&T 13.0

Input your Carrier Version Number into CarrierEditor and click Next.

Step Eight
Pick your Device and Carrier from the dropdown boxes then click Next to continue.

Step Nine
Drag in your new carrier logo images. There is one for when the status bar is black and another for when the status bar is light gray. The later should have an etched effect.

The logos should be max size of 60x20 or 120x40 for Retina Displays. They must be in the PNG format with a transparent background. ie. carrierlogo.png or carrierlogo@2x.png for Retina devices.

If you don't have your own logos you can find some pre-made ones in the DMG we previously mounted, under the ZeppelinLogos folder.

Click the Compile Carrier Update (.ipcc) button to continue.

Step Ten
You will be informed that your newly compiled carrier update has been saved onto your desktop along with the original copy so you can revert back.

Step Eleven
Launch iTunes from your dock.

Step Twelve
Connect your device to the computer and select it from the navigation bar at the top right or the sidebar at the left if you are still using the old iTunes view.

Step Thirteen
Make sure you are on the Summary tab then hold down the Option key and click Update.

Step Fourteen
Navigate to your desktop and select the new .ipcc file we just created then click the Open button.

Step Fifteen
Once your carrier settings have been updated the new logo should appear on your device within a few moments. If it does not, reboot your iPhone.

 
 iPhone © 2012 | Designed by LogosDatabase.com, in collaboration with Credit Card Machines, Corporate Headquarters and Motivational Quotes