


These are instructions on how to customize your iPhone Lockscreen to display your calendar, mail, calls, sms, weather, twitter, todo, and more using LockInfo.
Step One
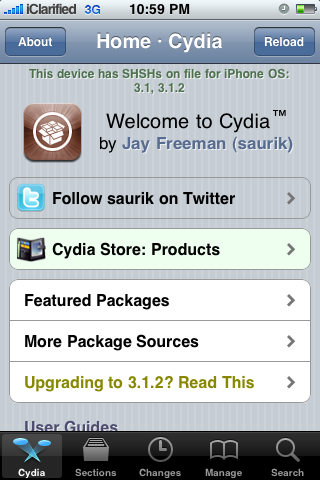
Press to launch Cydia from your Springboard.

Step Two
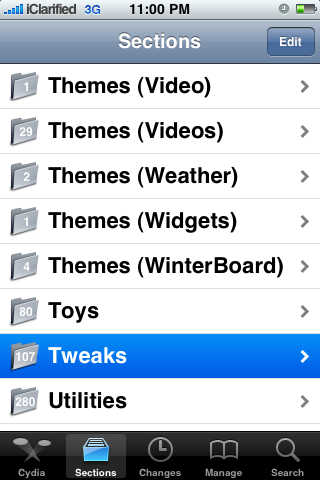
Press to choose Sections from the tabs at the bottom of the screen.
Step Three
Press to select Tweaks from the list of Sections.
Step Four
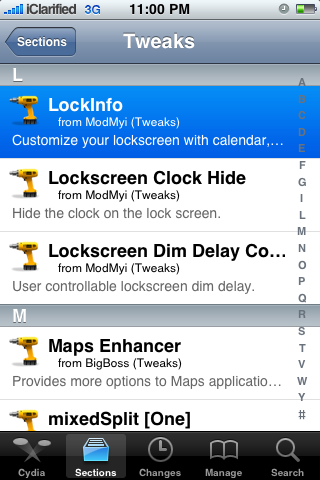
Tap to choose LockInfo from the list of Packages.
Step Five
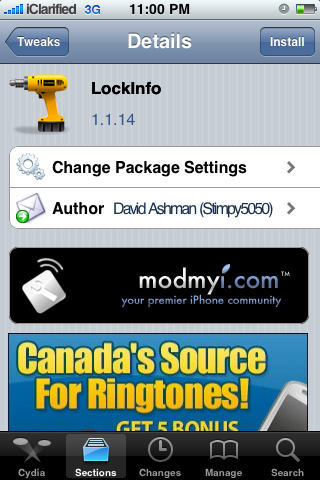
Press the Install button at the top right of the screen.
Step Six
Press the Confirm button at the top right to begin installation.
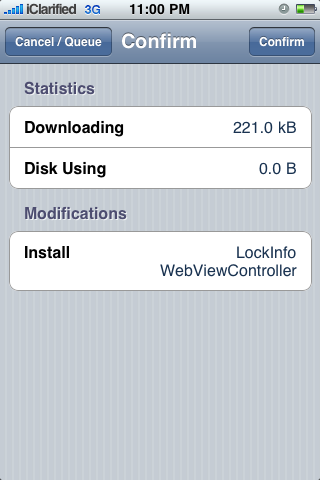
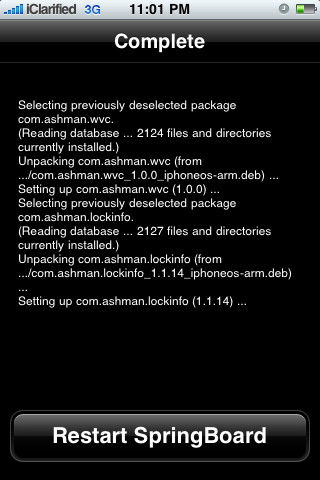
Step Seven
Once the installation has completed successfully press the large Respring Springboard button.
Step Eight
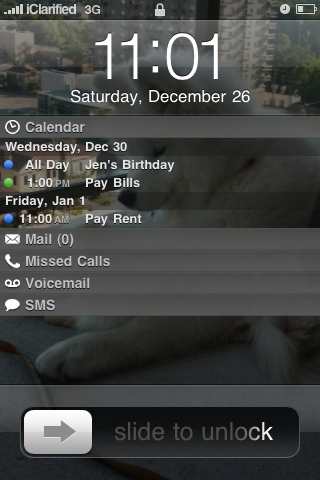
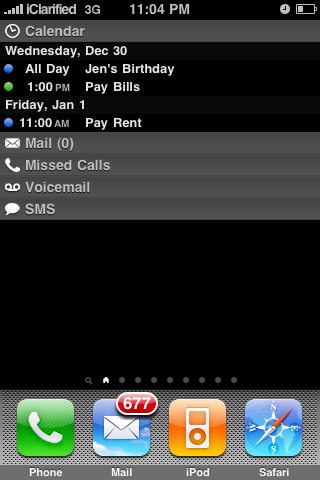
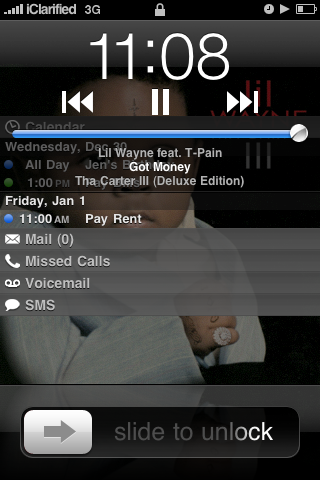
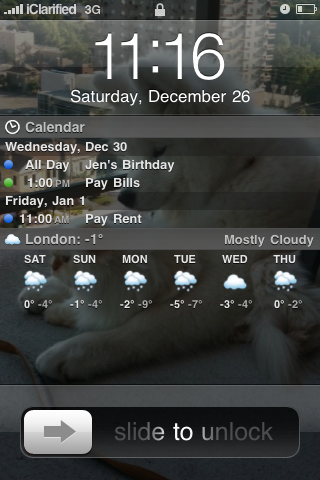
Notice that you now have some useful information on your Lockscreen! Lets try to customize it...
Step Nine
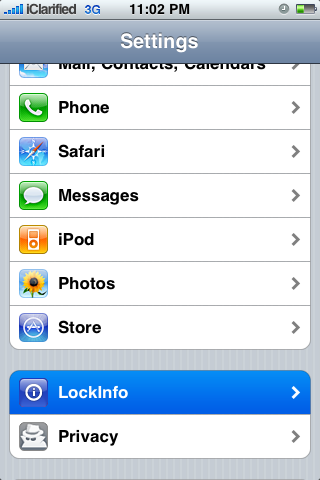
Press to select Settings from your Springboard.

Step Ten
Scroll down and select LockInfo from the Settings Menu.
Step Eleven
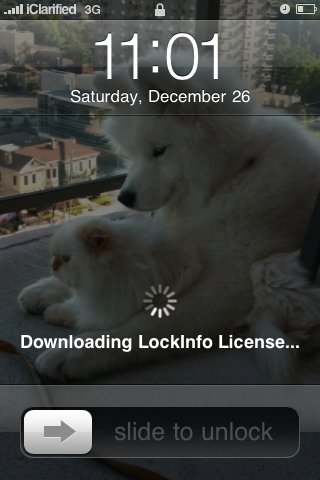
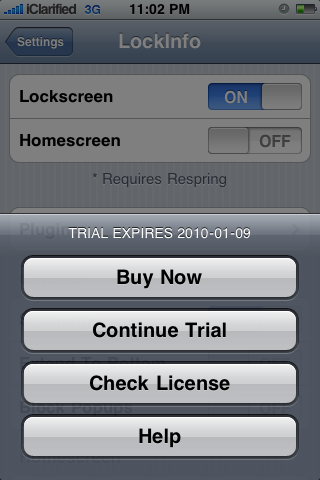
If you haven't already purchased LockInfo you will be prompted to Buy Now or continue your trial. Press the appropriate button.
Step Twelve
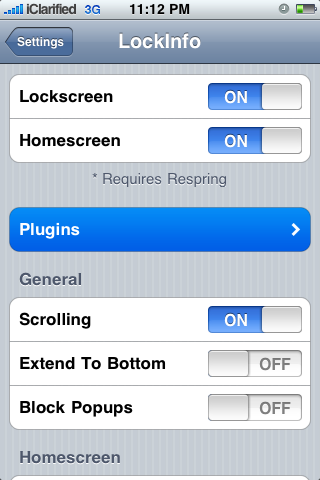
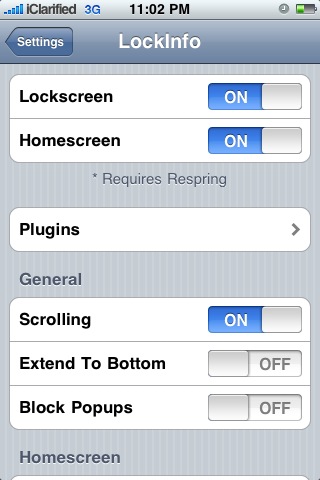
At the top of the LockInfo Settings Menu you will see two switches. One places LockInfo on your lockscreen. The other places LockInfo on your Homescreen by inserting a page before your first Springboard page.
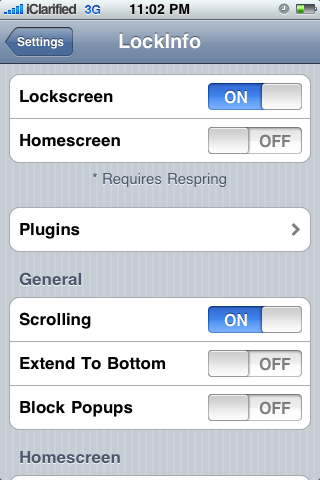
If you choose to add LockInfo to the homescreen then you must reboot your iPhone for the change to take effect.

Step Thirteen
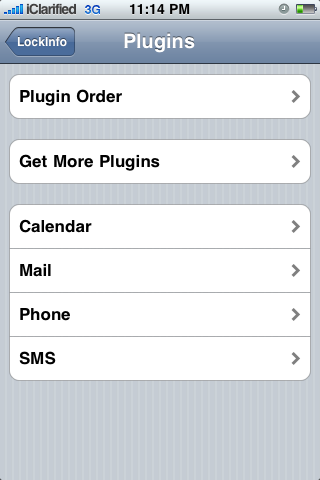
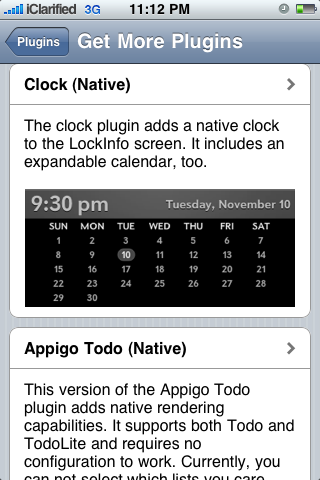
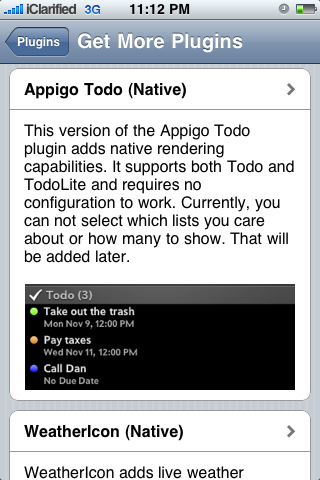
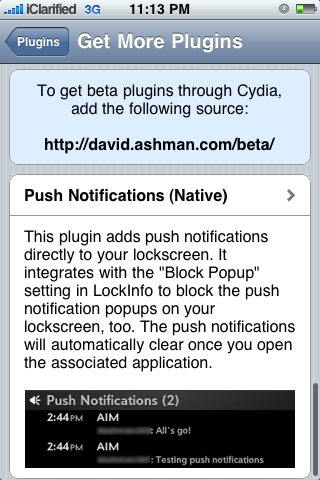
LockInfo comes with Calendar, Mail, Phone, and SMS plugins installed. You can also add Twitter, Clock, Appigo Todo, WeatherIcon, and Push Notifications (Beta).
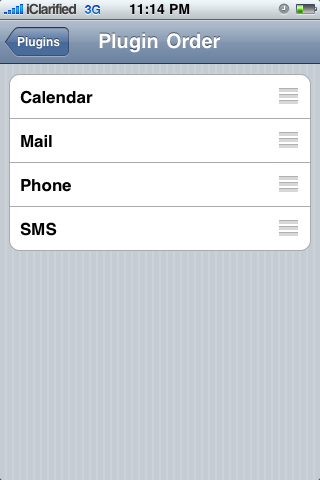
We will deal with adding another plugin below. For now press Plugins then press Plugin Order. Here you can drag to set the order your information appears in.
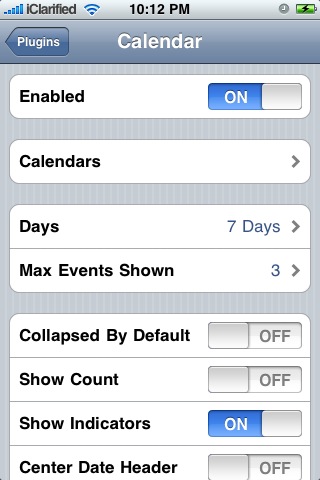
From the Plugins Setting screen you can also select a plugin to modify its individual settings. For example, if you select Calendar you can enabled or disable it, choose which Calendars appear, set the days, max events shown, and change the view options.
Step Fourteen
Back in the LockInfo main settings screen you can enable or disable scrolling, choose to extend info to bottom, and block popups.
Step Fifteen
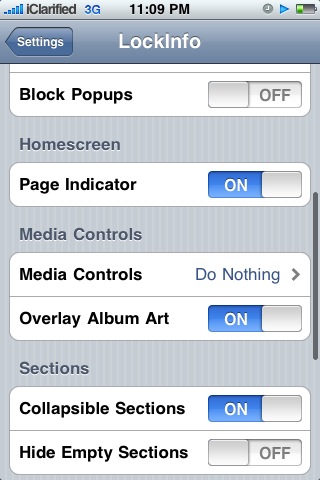
You can also choose to display a page indicator on the Homescreen.
Step Sixteen
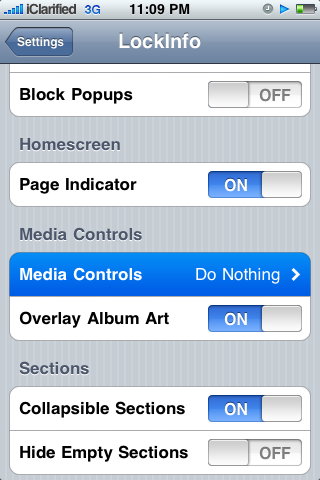
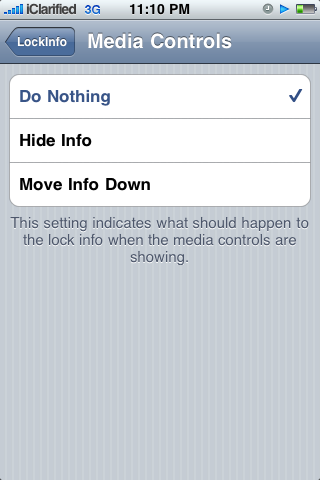
When playing music or video a popup controller normally appears on your lockscreen. When this occurs you can have LockInfo do nothing, hide the LockInfo or move the LockInfo down. You also have a choice to overlay the album art as the lockscreen background.
Step Seventeen
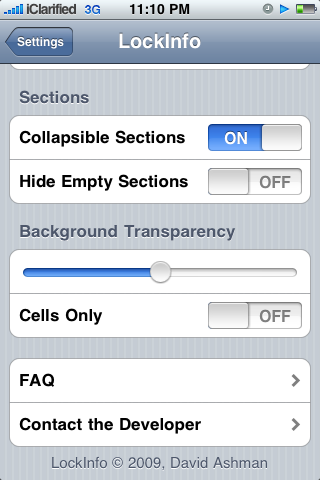
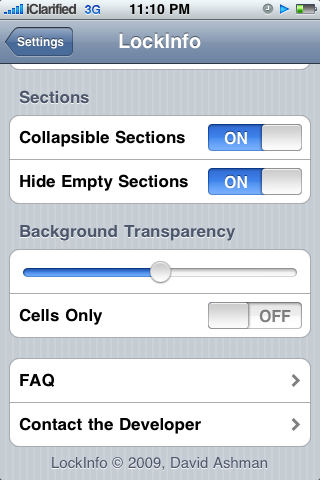
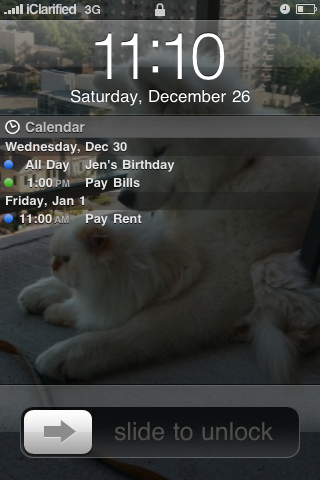
The LockInfo is divided into different sections for each plugin. You have the option to enable or disable collapsible sections as well as the option to hide empty sections.
Step Eighteen
Finally you can set the transparency of the LockInfo and choose to apply the transparency to cells only.
INSTALLING A LOCKINFO PLUGIN
To install a lockinfo plugin follow these steps:
Step One
Press to launch Settings from your iPhone Springboard.
Step Two
Press to select LockInfo from your Settings menu.
Step Three
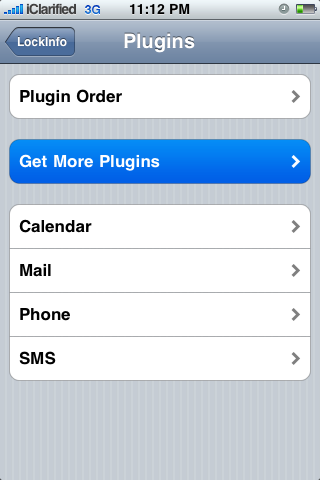
Press to choose Plugins from the LockInfo Settings menu.
Step Four
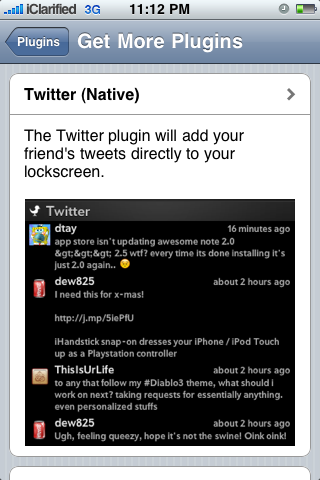
Press the Get More Plugins button from the Plugins Settings menu.
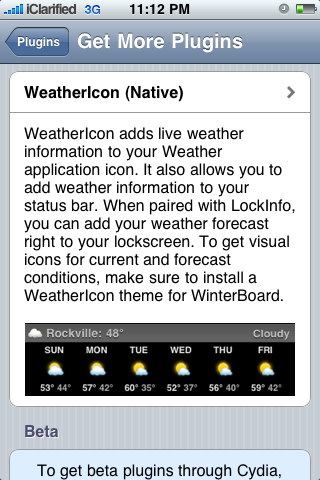
Step Five
Press to select the plugin you would like to install from the list of available plugins. For this example we will choose WeatherIcon.
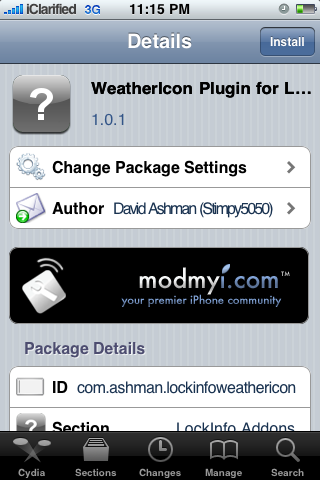
Step Six
Cydia will automatically launch and open to the plugin package you just selected. Press the Install button at the top right of the screen.
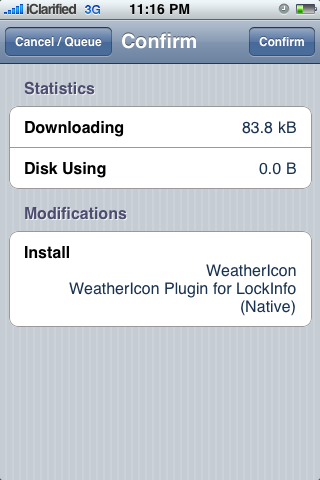
Step Seven
Press the Confirm button at the top right to begin installation.
Step Eight
Once the installation has completed successfully you will notice that LockInfo has an extra section to display the new information.
Step Nine
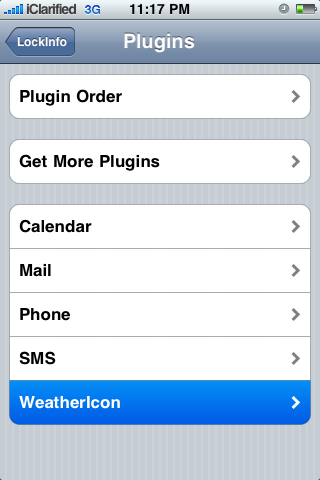
The newly installed plugin can be configured in two areas. First you can go into Settings:LockInfo:Plugins and you will find your newly installed plugin listed.
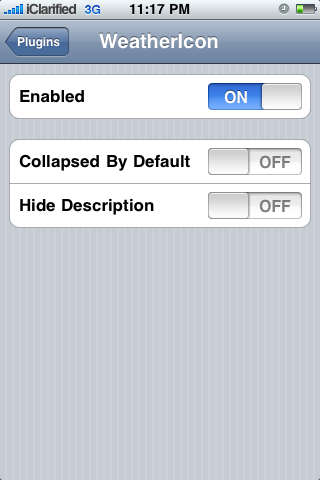
Press to select it. From here you can choose to enabled or disable the plugin as well as modify some basic settings such as collapsed by default and hide description.
Step Ten
To access the detailed settings for your plugin press Settings from the Springboard then select the plugin name from the Settings menu.
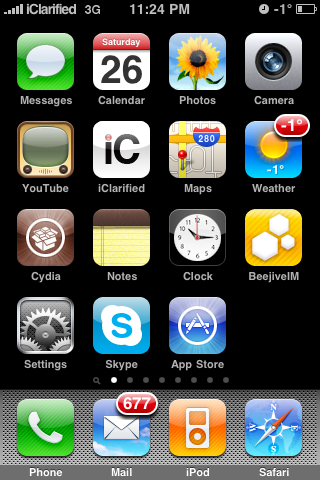
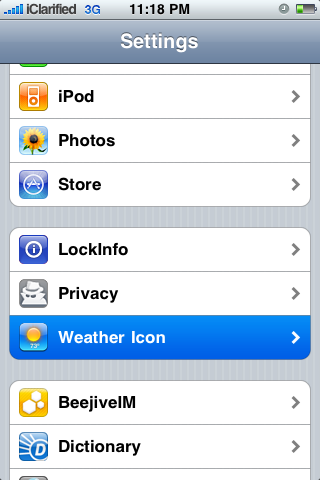
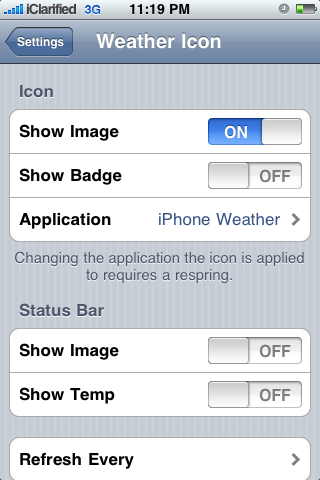
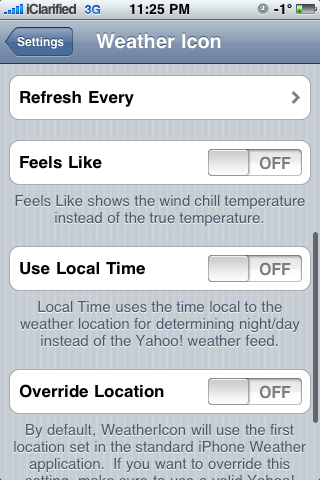
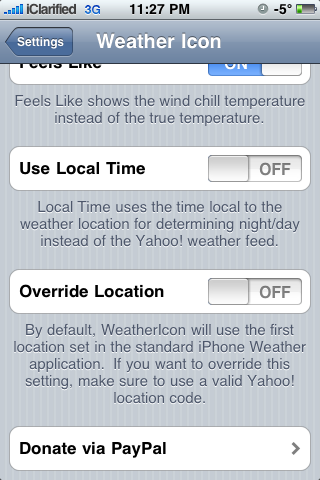
From this window you have the ability to modify advanced settings for the plugin. If you installed the WeatherIcon plugin like us you can modify the icon's settings, put the temperature on the status bar, change how often the weather is refreshed, show the wind chill temperature, use local time and even override the default location.
Of course the settings in this area will change depending on which plugin you have installed. Currently you can choose to install these additional plugins: Twitter, Clock, Appigo Todo, WeatherIcon, and Push Notifications (Beta).


0 comments:
Post a Comment