


This is a basic demonstration/tutorial on how use the new iPhone Voice Memo application in iPhone OS 3.0. If you are not a developer you will likely not have access to this iPhone application until June 2009.
 Watch the Video!
For your convenience this tutorial is available in video format also. Click the Watch It button to view the tutorial!
Step One
Press to launch the new Voice Memos application from the Springboard

Step Two
When the voice memo app opens you will see a microphone and a VU meter. At the bottom left there is a red record button. At the bottom right there is a list button.
To record a new voice memo press the Record button.

Step Three
You will see a status bar along the top display the elapsed time.

You can use the Pause button at the bottom left of the screen to pause then restart recording. Once you are done recording your voice memo press the Stop button at the bottom right of the screen.


Step Four
Press the list button at the bottom right to view your previously recorded memos.

Step Five
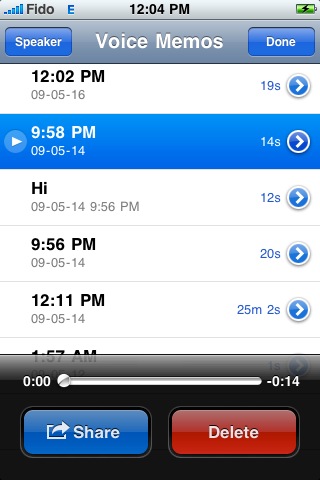
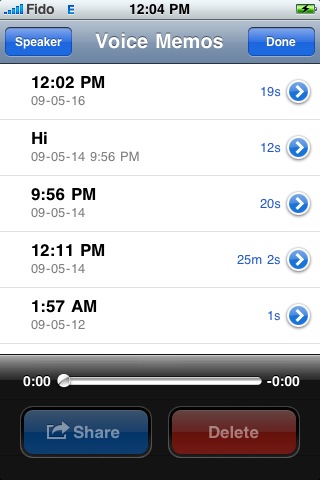
Your previously recorded memos will be ordered by the time recorded. You can also see the duration and date of each memo.
Press to select a memo for playback. You can use the Speaker button at the top left to listen to memo over the loud speakers.


Step Six
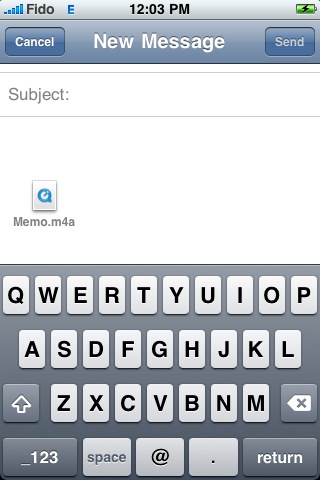
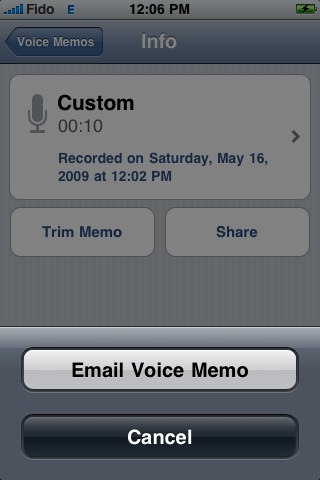
To share a memo with a friend press the Share button at the bottom of the screen.

Press the large Email Voice Memo button to open a new Mail message with the memo attached as a m4a audio file.

Step Seven
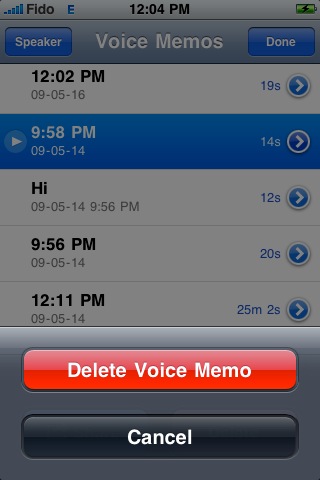
From the Voice Memo list you can also use the delete button at the bottom of the screen to delete a voice memo. Press the large Delete Voice Memo button to confirm the deletion.
Step Eight
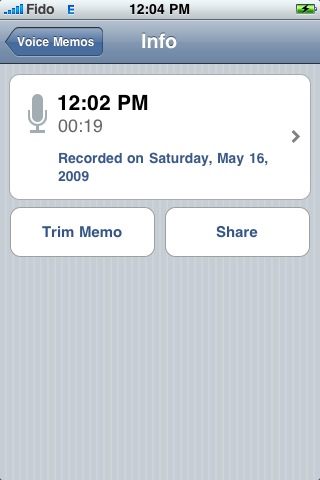
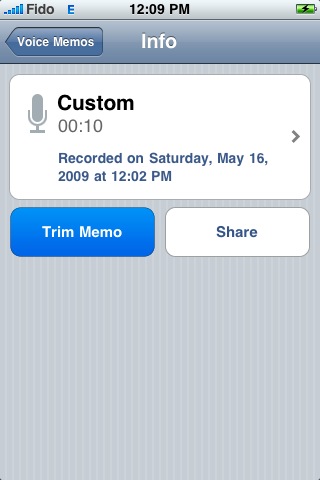
To view more information about the memo you can press the blue circular arrow button to its right
From the Info window you can label, trim and share the memo.
Step Nine
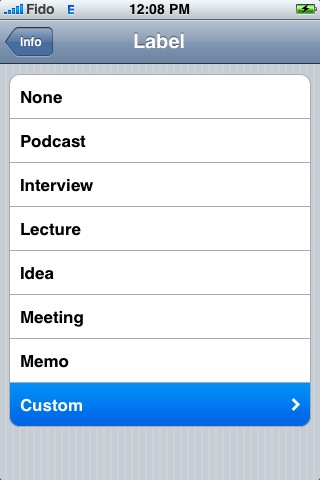
Press the large button at the top which shows the time and duration of the recording.
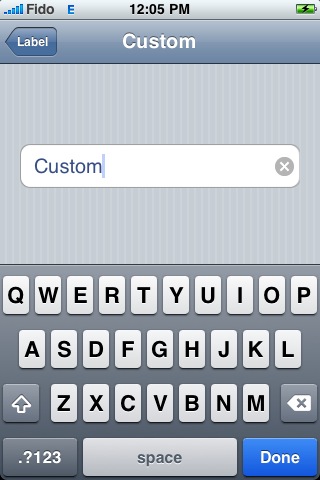
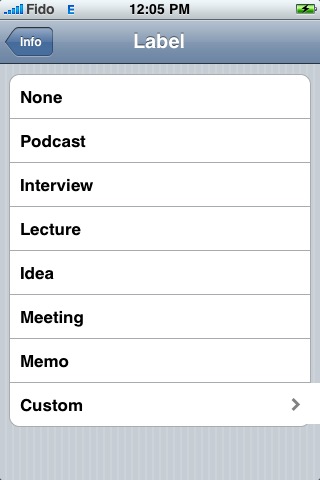
This will open the Label screen where you can select a previously defined label or create your own. Press custom to give the memo your own label.
Once you have entered a name for your memo press the Label button at the top left. Then press the Info button at the top left to return to the memo details screen.
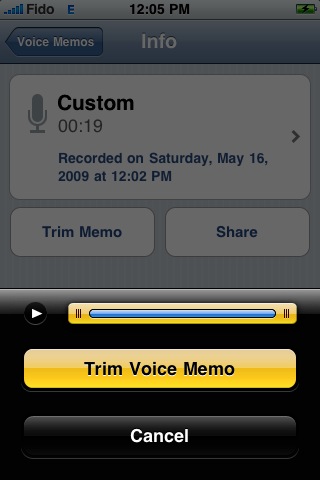
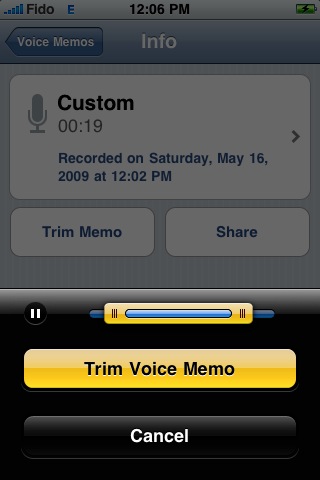
Step Ten
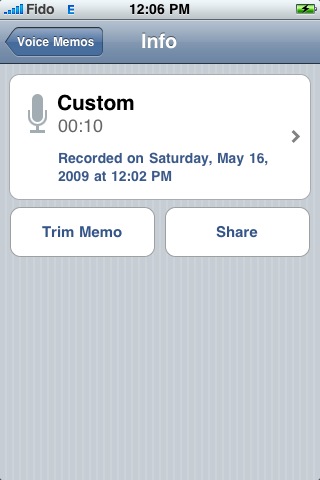
To trim the recording click the Trim Memo button. You will see a blue progress bar with a yellow handle on the left and on the right. Drag the handles to set the start and end of the clip. Press the play button to confirm it sounds ok then press the large Trim Voice Memo to finalize your cut.

Step Eleven
You can also use the Share button to send the memo just as we demonstrated in Step Six.

0 comments:
Post a Comment