These are instructions on how to Update and Jailbreak to 1.1.3 iPhone Firmware with the Official Dev Team Method using an Installer Source.
Please realize that many if not most applications designed for 1.1.2 do not work yet with 1.1.3 and may cause crashes etc. This includes SummerBoard and Customize! It might even be a good idea to remove all extra applications before performing the update! Many are finding this makes the update alot smoother.
You can find the Mac version of this tutorial here:
http://www.iclarified.com/entry/index.php?enid=609
You can find the Windows version of this tutorial here:
http://www.iclarified.com/entry/index.php?enid=610
To follow these instructions you need to have a 1.1.2 Jailbroken iPhone. You can find instructions on how to do this here:
Windows: http://www.iclarified.com/entry/index.php?enid=461
Mac: http://www.iclarified.com/entry/index.php?enid=455
Step One
Press to select Settings from your springboard.
Step Two
Press to select General from the list of categories.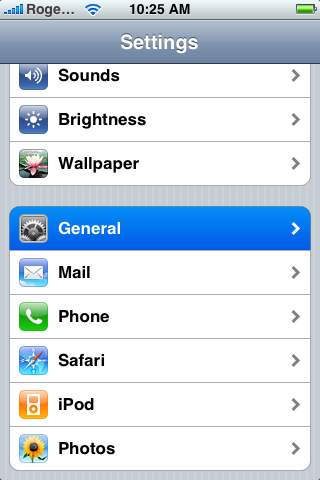
Step Three
Press to select Auto-Lock from the General menu.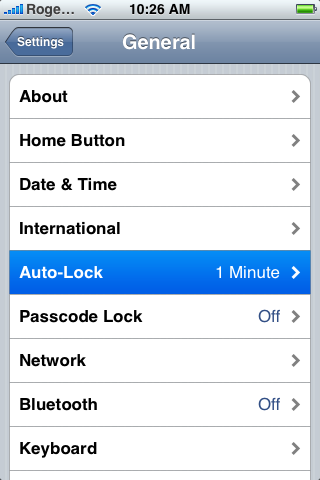
Step Four
Press to select Never from the list of Auto-Lock times.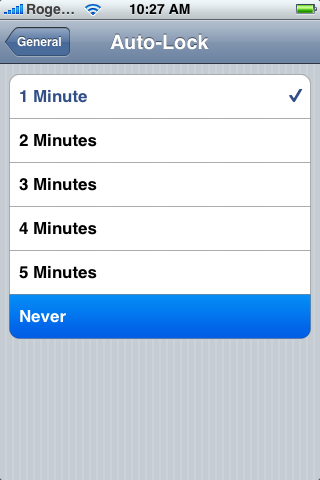
Step Five
Press the Home button to return to your springboard.
Step Six
Press to select Installer from your springboard.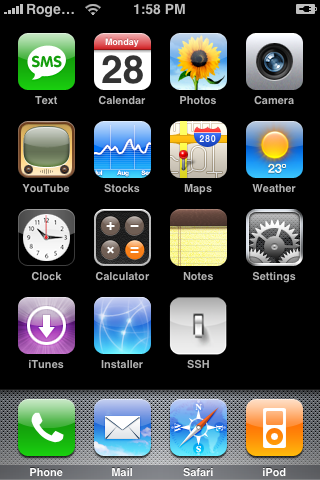
Step Seven
Press Donate Later to continue into the Installer app. Note: Come back later and donate as this app is helping you out a ton!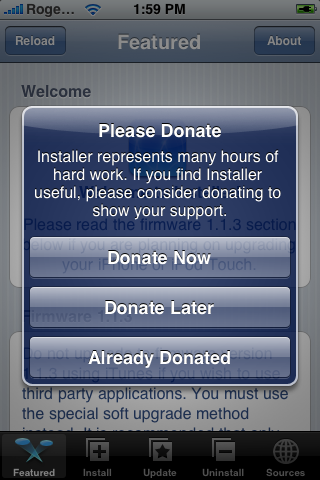
NOTE***: If you have not updated Installer you may be requested to Update. Make sure before you continue this tutorial that you have updated to the latest version of Installer! THE OLD VERSION OF INSTALLER WILL NOT WORK ON 1.1.3. You will have to start all over if you forget this!
Step Eight
Press to select the Install tab at the bottom of the screen.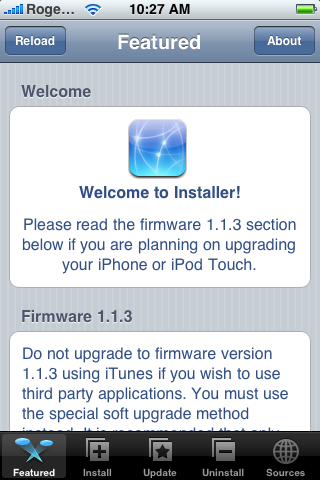
Step Nine
Press to select the System category.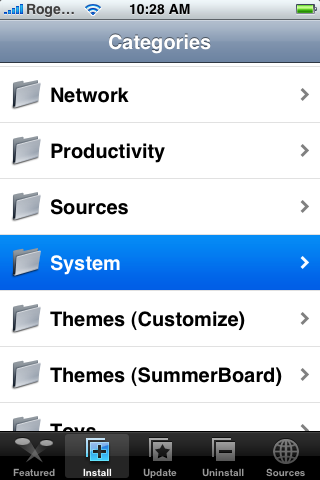
Step Ten
Press to select BSD Subsystem from the list of packages.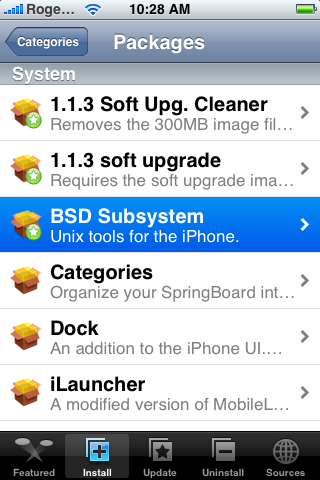
Step Eleven
Press to select the Install button at the top right.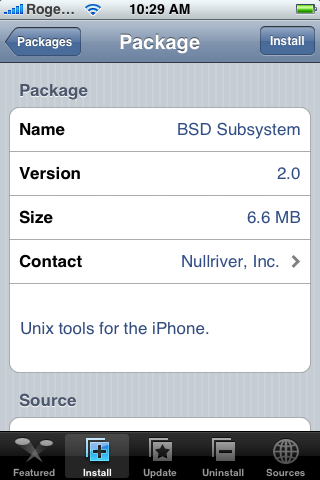
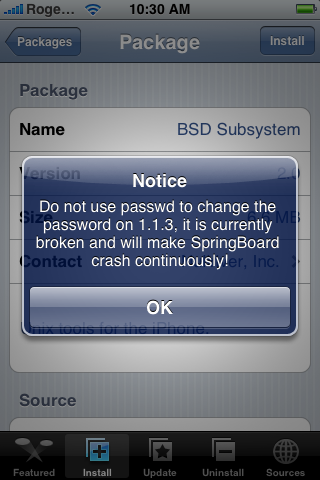
Step Twelve
Press the Install button to confirm installation. You may get a notice. If you do press the OK button.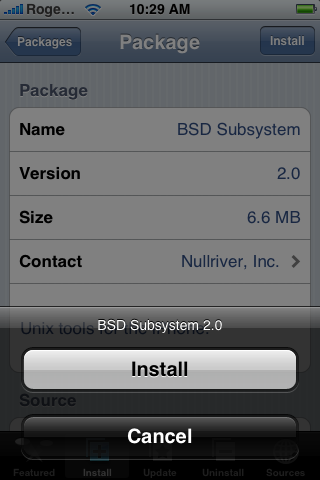
Step Thirteen
Once installation is complete you will be taken back to the Categories list. Press to select the Sources tab at the bottom right.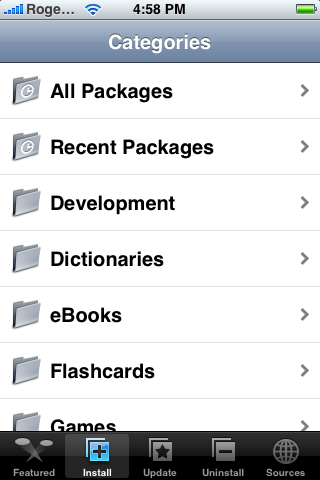
Step Fourteen
Press to select the Edit button at the top right of the screen.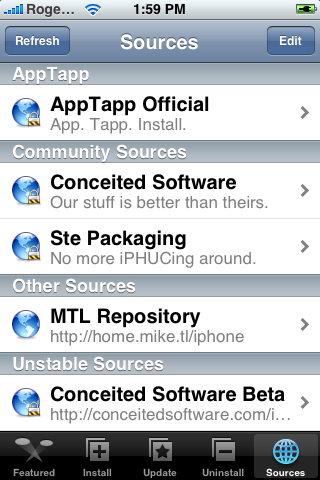
Step Fifteen
Press to select the Add button at the top left of the screen.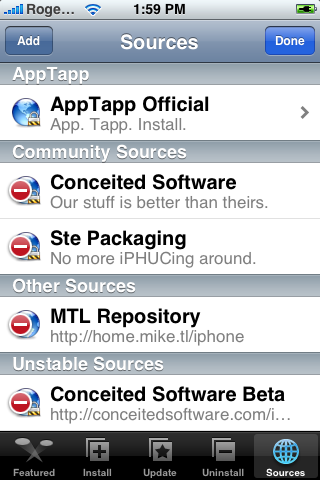
Step Sixteen
Add the source http://installer.iClarified.com and press the large OK button.
Step Seventeen
Press the Done button at the top right hand corner of the screen.
Step Eighteen
Press to select the Install tab at the bottom of the screen.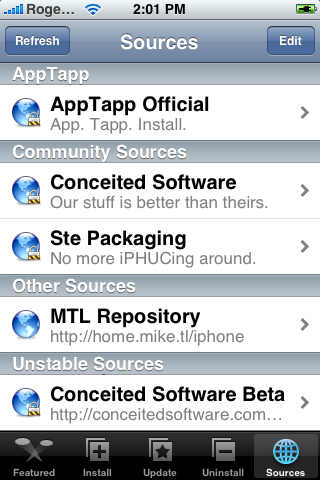
Step Nineteen
Press to select iClarified from the list of Categories.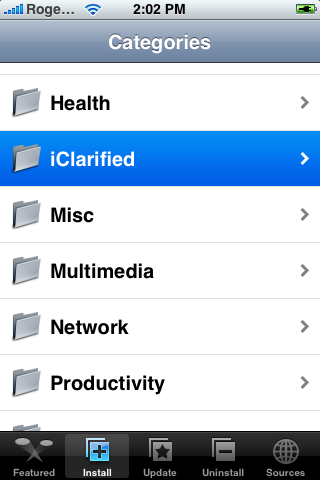
Step Twenty
Press to select Soft 1.1.3 Jailbreak from the list of Packages.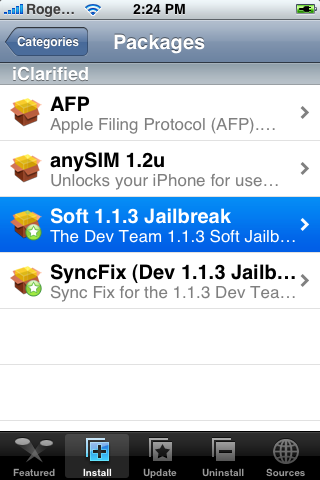
Step Twenty One
Press to select the Install button at the top right of the screen.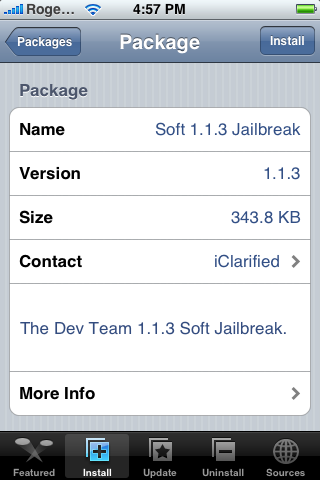
Step Twenty Two
Press to select the large red Install button that appears.
Step Twenty Three
Press the large OK button to confirm that you set Auto-Lock to never.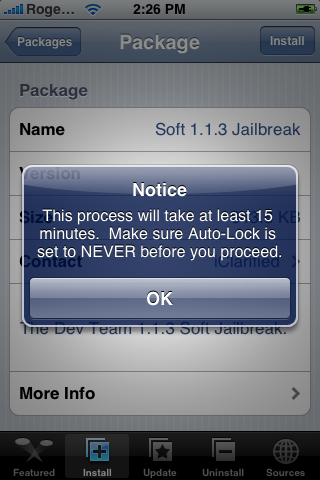
Step Twenty Four
Press the large OK button again.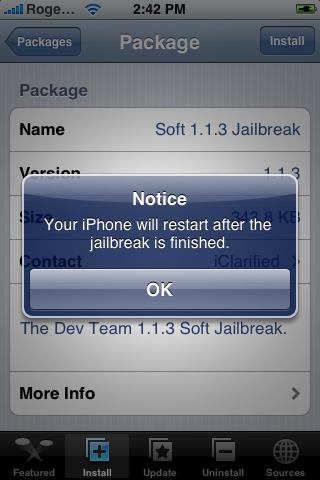
Step Twenty Five
The install process took me about 20 minutes and then iPhone rebooted.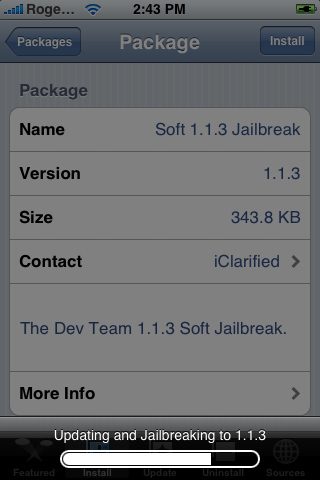
Once the iPhone reboots you will have 1.1.3 Firmware on your iPhone!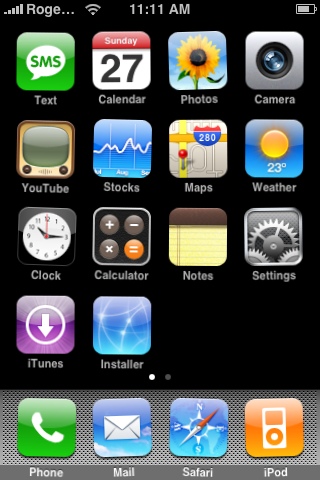
NOTES***: If you are having problems with iTunes sync after this soft update/jailbreak then follow this tutorial:
http://www.iclarified.com/entry/index.php?enid=612


Orkut's #1 and the most popular iPhone community now on Facebook ! This Group Is dedicated To All Those Who Have Apple iPhone, iPod Touch or iPad. Join This Group And Share Ur Views Issues And Solutions. Our Cydia Source is DeadMan.myrepospace.com

0 comments:
Post a Comment