These are instructions on how to backup and restore your list of Cydia applications using PkgBackup.
Step One
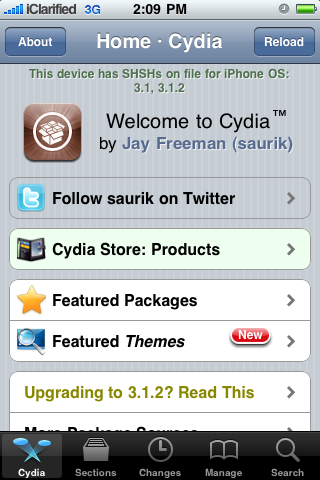
Press to launch Cydia from your iPhone Springboard
Step Two
Press to select Sections from the tabs at the bottom of the screen
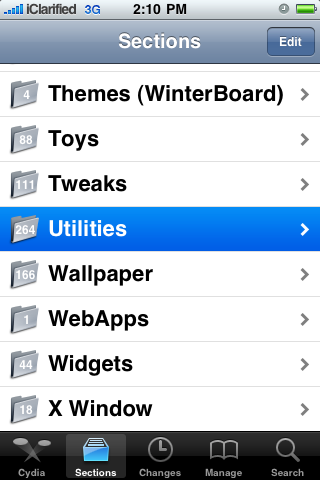
Step Three
Press to select Utilities from the list of Sections
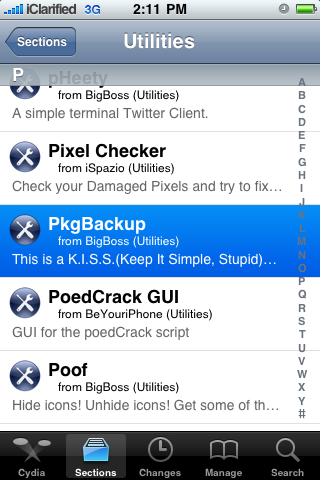
Step Four
Press to select PkgBackup from the list of Packages
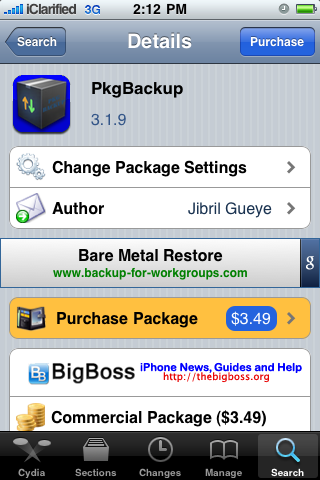
Step Five
Press to Purchase PkgBackup from the Cydia Store for $3.49. Once you have entered your payment information you will be returned to the package information view where you can now press the Install button at the top right of the screen.
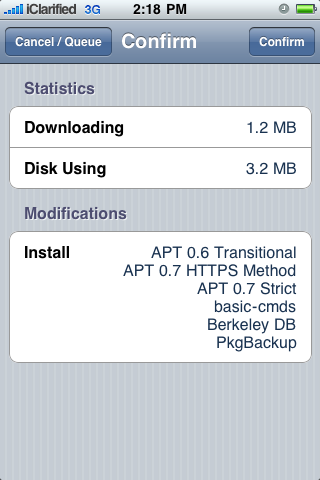
Step Six
Press the Confirm button to begin your installation.
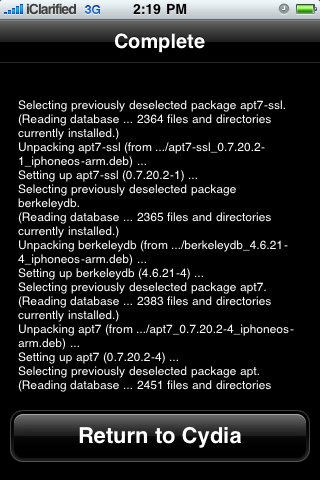
Step Seven
Once installation has completed successfully press the large Return to Cydia button.
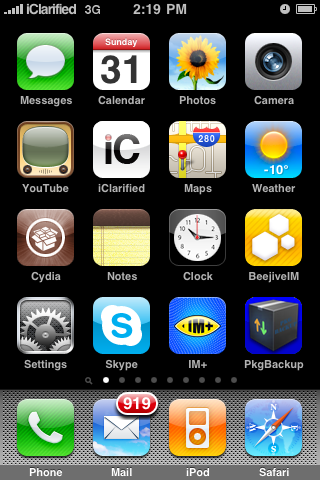
Step Eight
Press the Home button to return to your Springboard then launch the newly installed PkgBackup application.
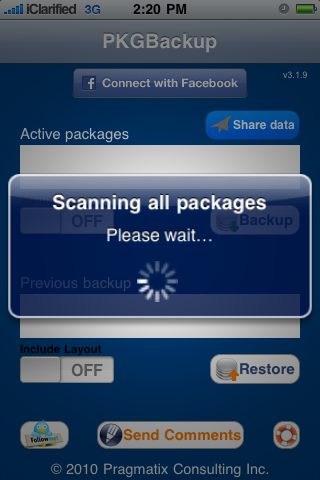
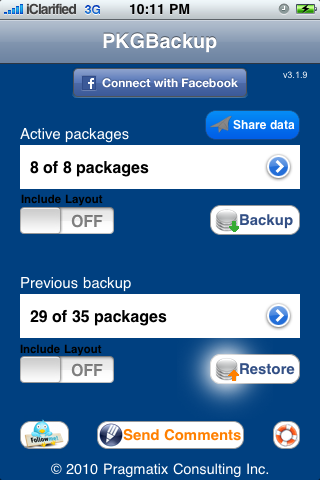
Step Nine
PkgBackup will begin by scanning all your installed packages. Press the blue circular arrow button to view the list of active packages.
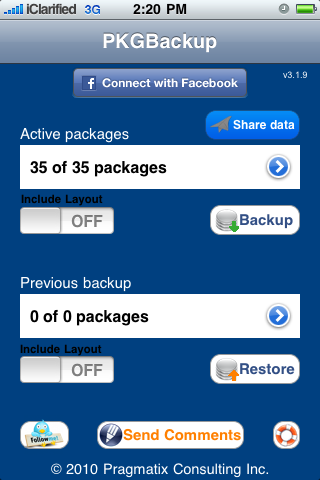
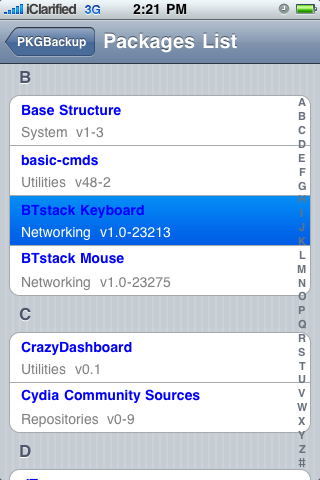
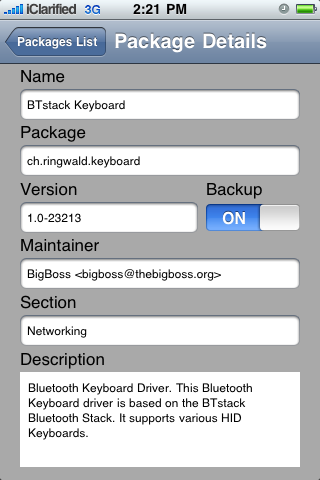
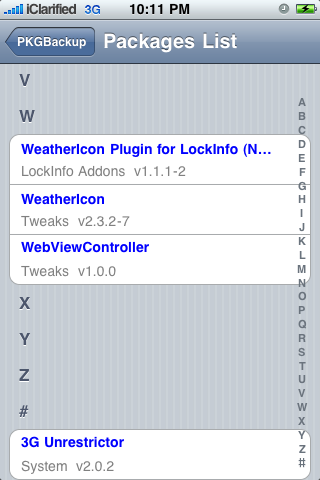
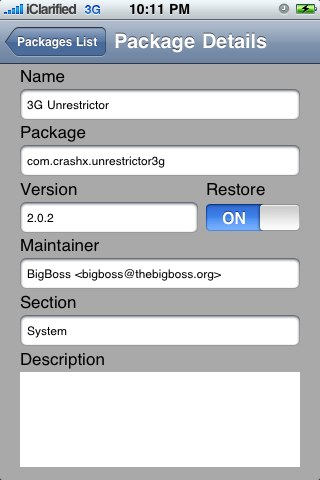
Step Ten
Press to select an application from the list. From the package details window you can enable or disable backup of that particular package.
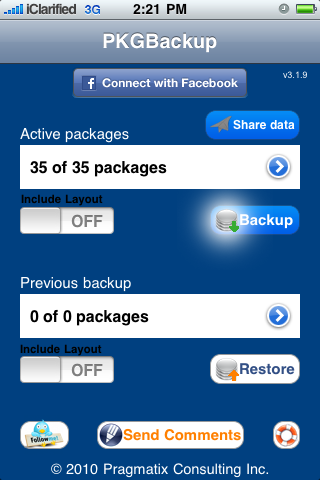
Step Eleven
From the main screen you can turn the Include Layout switch to ON if you would like to save your Springboard layout. Next, press the Backup button to begin backing up your application list.
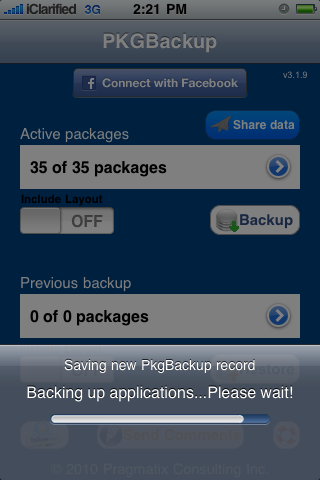
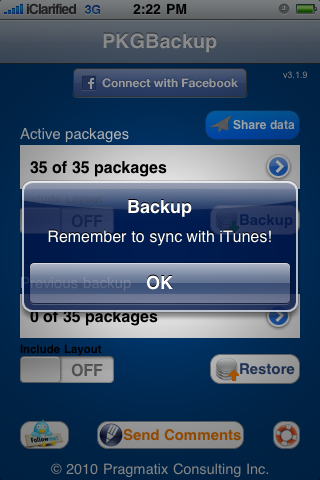
Step Twelve
Once Pkgbackup is finished it will prompt you to sync with iTunes. Press the large OK button then connect your iPhone to iTunes and perform the sync. Make sure that iTunes successfully completes a backup during the sync process.
Step Thirteen
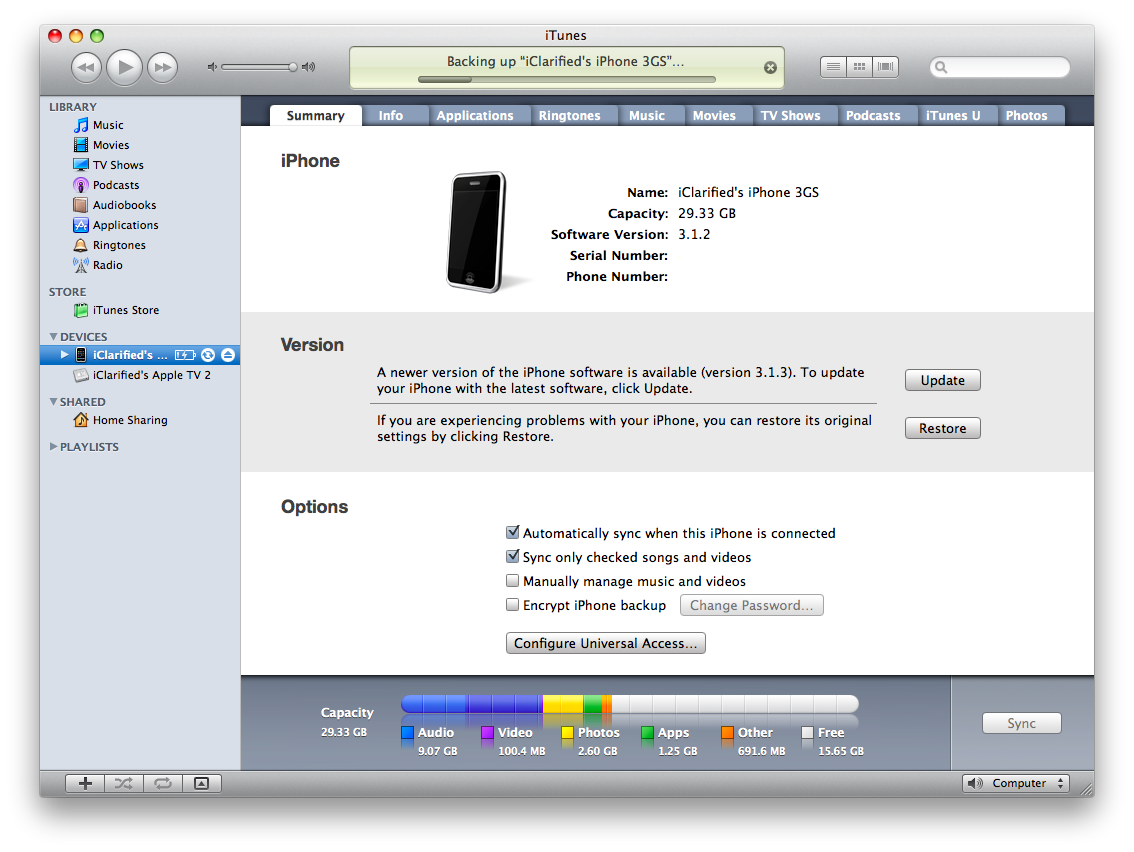
If your firmware has been restored and you have lost your Cydia applications the first step is to restore the backup we just made in iTunes.
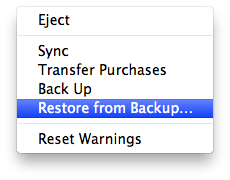
To do this, either Ctrl-Click or Right-Click on the iPhone in the list of devices in iTunes. Select Restore Backupfrom the popup menu that appears.
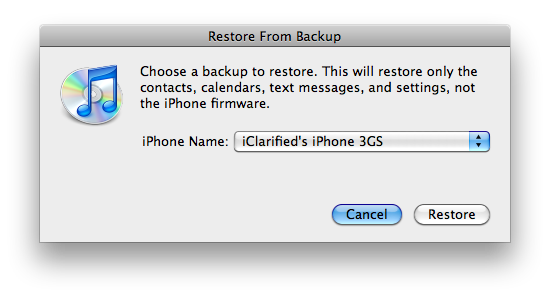
Chose the backup you would like to restore to from the list then click the Restore button.
Step Fourteen
Once the backup has been successfully restored to the iPhone you will need to follow Steps One through Eight again to install and launch PkgBackup.
Step Fifteen
Notice PkgBackup will detect how many packages you have installed and how many packages are available for installation from your previous backup.
Step Sixteen
Press the blue circular button to see the packages from your previous backup. You can select an individual package to see its details and set whether or not it will be included in a Restore.
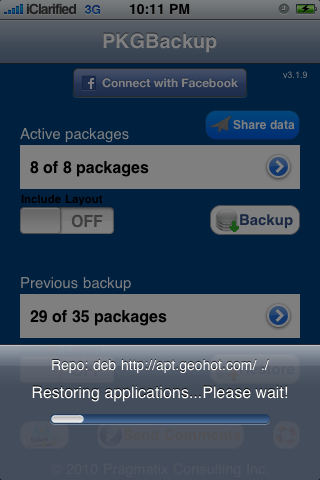
Step Seventeen
Press the Restore button to begin installing all your missing applications.
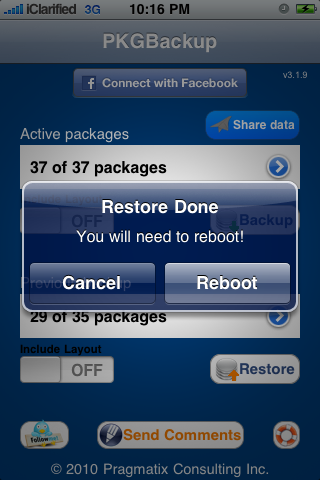
Step Eighteen
Once its done installing your applications PkgBackup will ask you to reboot. Press the Reboot button.
Step Nineteen
Once your iPhone restarts you will have all your applications back!