


Orkut's #1 and the most popular iPhone community now on Facebook ! This Group Is dedicated To All Those Who Have Apple iPhone, iPod Touch or iPad. Join This Group And Share Ur Views Issues And Solutions. Our Cydia Source is DeadMan.myrepospace.com
Orkut's #1 and the most popular iPhone community now on Facebook ! This Group Is dedicated To All Those Who Have Apple iPhone, iPod Touch or iPad. Join This Group And Share Ur Views Issues And Solutions. Our Cydia Source is DeadMan.myrepospace.com
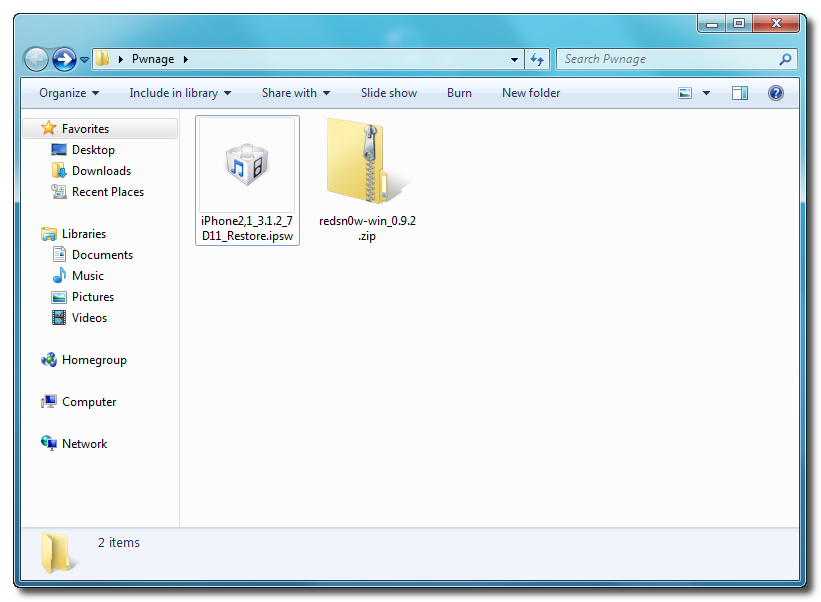
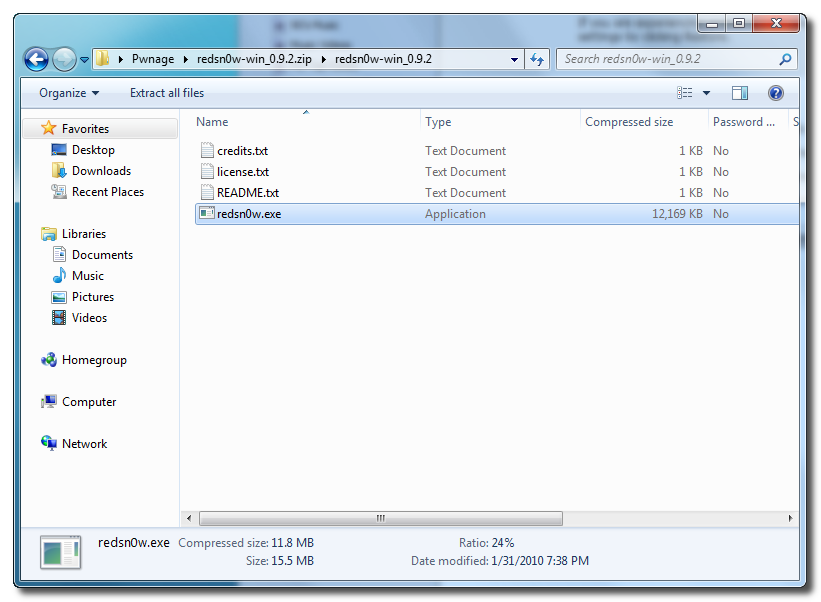
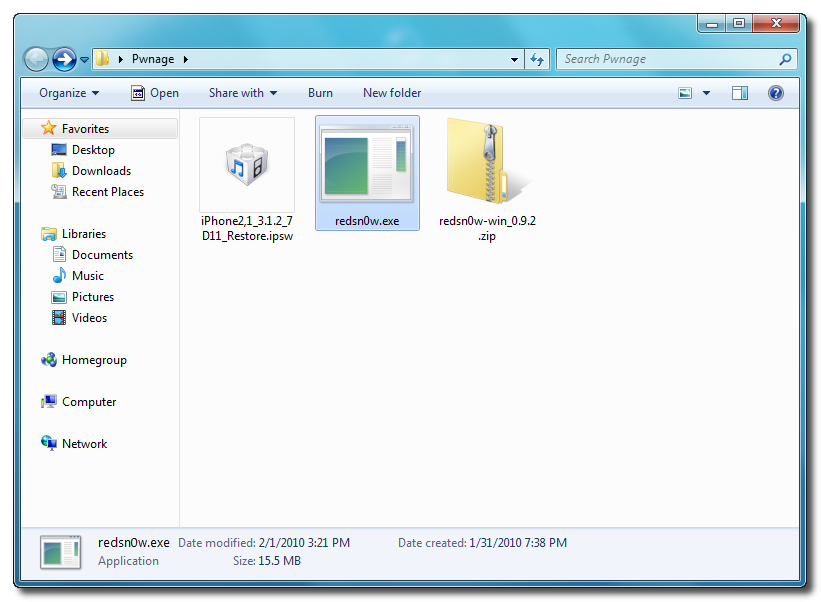
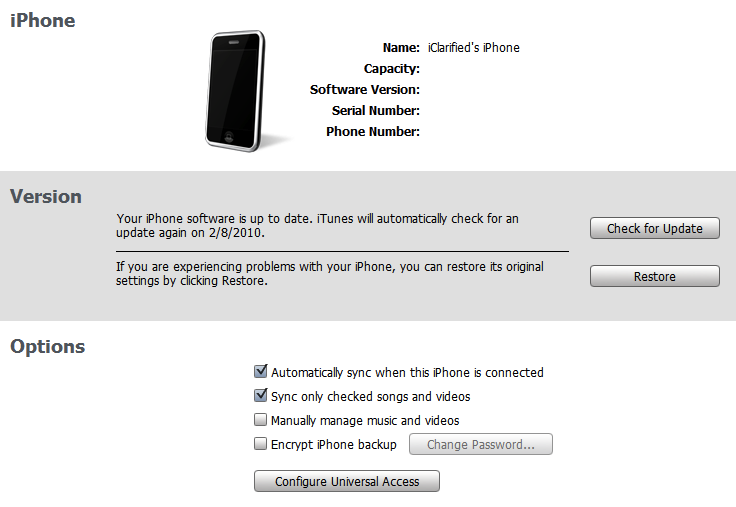
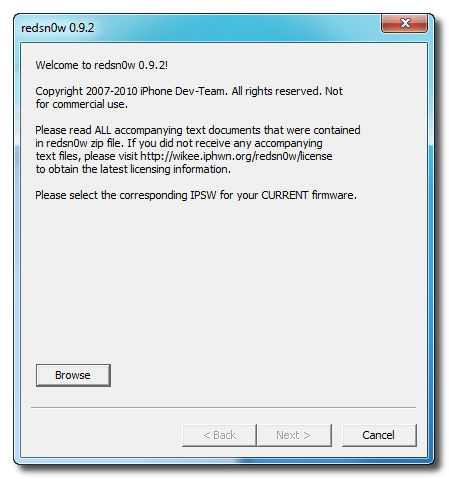
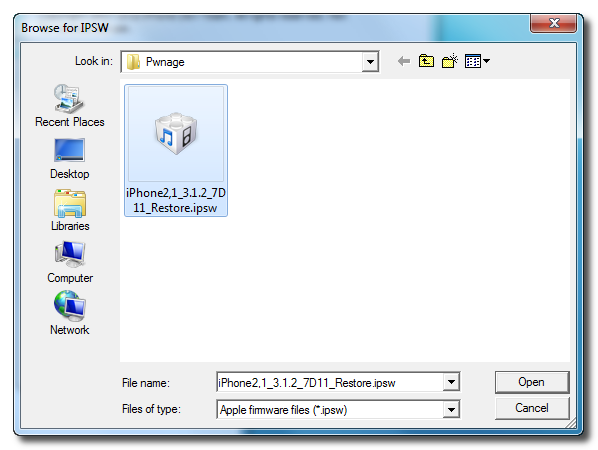
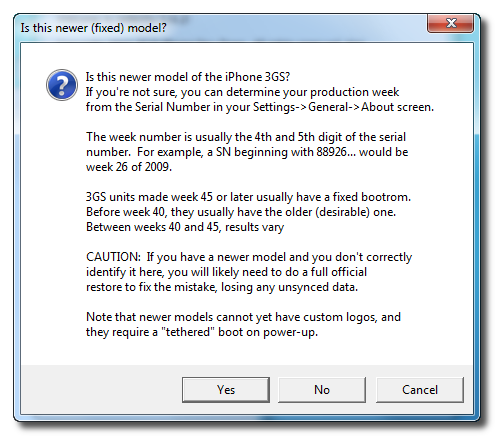
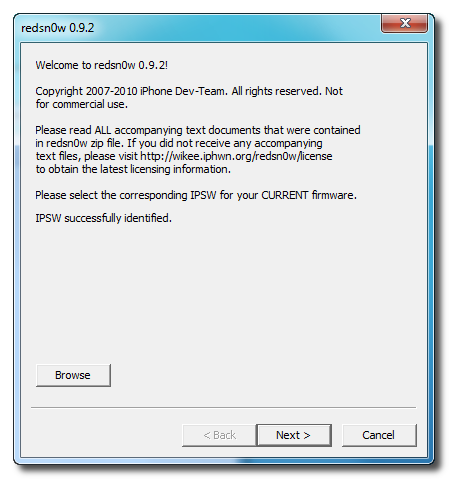
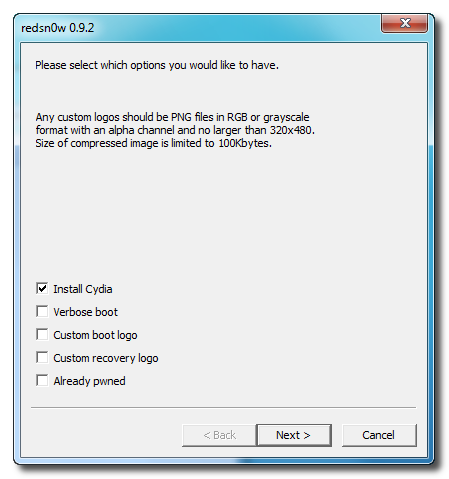
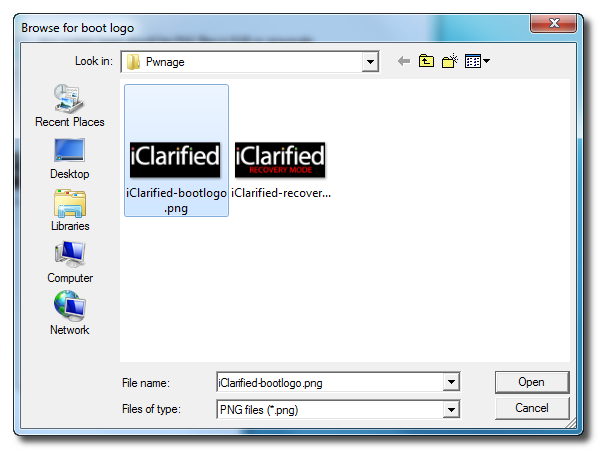
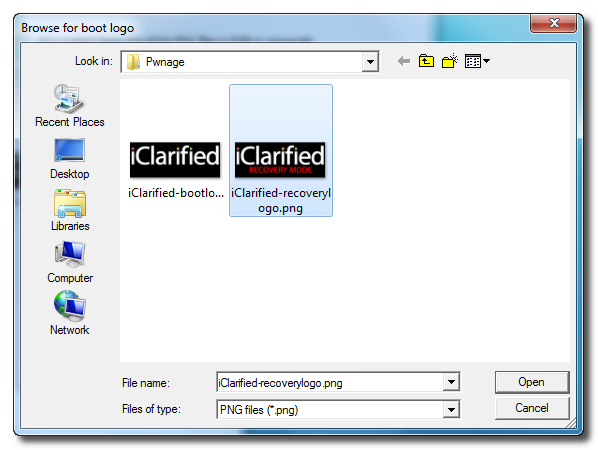
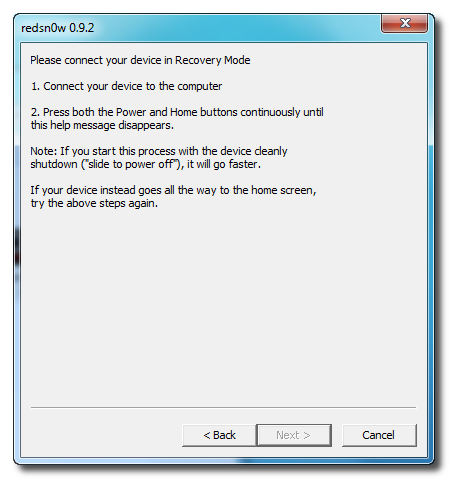
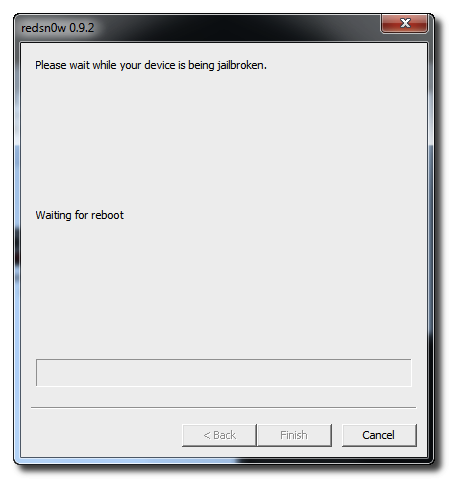
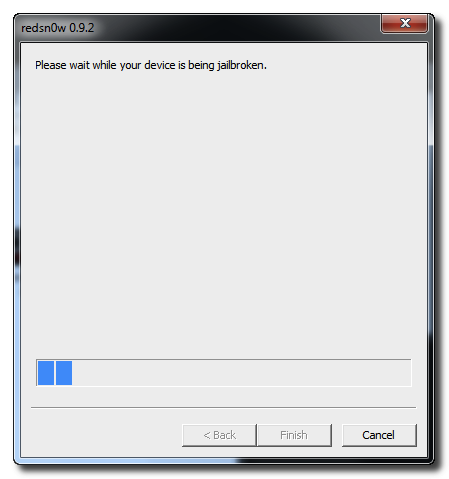
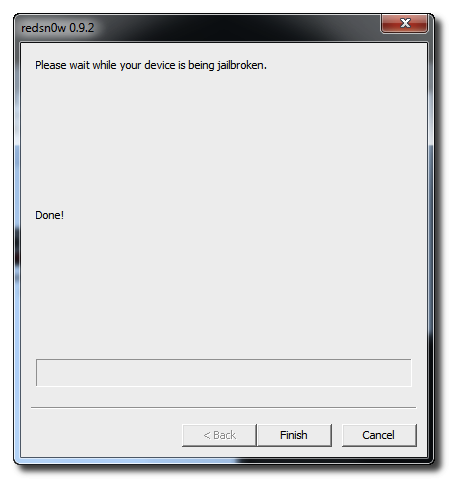
These are instructions on how to jailbreak your iPhone 3GS on the 3.1.2 iPhone firmware using RedSn0w for Windows. The Mac version of this tutorial is here. The 3G version of this tutorial is here . The 2G version of this tutorial is hereThis tutorial can be used to jailbreak before applying the BlackSn0w unlock.Watch the Video!For your convenience this tutorial is available in video format also. Click the Watch It button to view the tutorial!*Note: this video uses an older version of RedSn0w but is still applicable.Step OneCreate a folder on your desktop called PwnageDownload RedSn0w from here and place it in the Pwnage folder. Likewise, download the latest 3.1.2 firmware from below and place it in the same folder.3.1.2 (3GS): iPhone2,1_3.1.2_7D11_Restore.ipswExtract the RedSn0w executable from the zip file to the Pwnage folder.Step TwoConnect your iPhone to the computer and launch iTunes. Select your iPhone from the list of devices on the left. Now hold down shift and click the Restore button. Restore is preferred as it won't create any wasted space on your iPhone.Navigate to the Pwnage folder on your desktop and select the firmware ipsw. Click the Open button to continue. Step ThreeOnce iTunes has finished updating your iPhone to the desired firmware you may launch redsnw0w.exe from the Pwnage folder on your desktop.Step FourOnce RedSn0w opens click the Browse buttonStep FiveSelect the firmware ipsw we placed in the Pwnage folder on our desktop then click OpenStep SixRedSn0w will ask you if this is a newer (fixed) model iPhone. Newer models of the iPhone 3GS have a fixed bootrom which requires you to connect your device to the computer each time you wish to reboot. To find your serial number you can follow these instructions. The week number is usually the 4th and 5th digit of the serial number. For example, a serial number beginning with 88926 would be week 26 of 2009. 3GS units made week 45 or later will usually have a fixed bootroom. Before week 40 they usually have the older bootroom. Between weeks 40 and 45 the results vary. If you believe your device has a fixed bootrom then press the Yes button. Otherwise press the No button.If you accidentally select the wrong option you may have to do a full restore so please make this choice carefully.Once the firmware has been verified click the Next button to continue.Step SevenMake sure Cydia is selected and click the Next button.From this window you can select the jailbreak options you would like. If you have already pwned your device check the Already pwned option. Verbose boot displays detailed information on boot of your device and is generally only needed by developers and advanced users.Make sure Cydia is selected. For this tutorial we will also select Custom boot logo and Custom recovery logo. When you click to select each custom logo option a dialog window will appear asking you to select the image. Locate the image you would like to use then press the Open button.*Remember the rules for boot logos are: RGB or Grayscale format with Alpha channel and dimension below 320x480.Click the Next button to continueStep EightRedSn0w will now instruct you on how to put your iPhone into recovery mode. Disconnect you iPhone 3GS from the computer then power it off. Then hold down the Home button while reconnecting the device to the computer. Don't let go of the button until RedSn0w detects the iPhone and begins installation.Step NineYour iPhone will now reboot Step TenRedSn0w will then begin uploading the new RAM Disk and kernel.Step ElevenOnce this is complete you will be notified that RedSn0w is done. Click the Finish button. When your iPhone finishes rebooting (5 minutes or so) it will be jailbroken with Cydia on the SpringBoard.*As usual a big thanks to the iPhone Dev-Team for this contribution to the community.

0 comments:
Post a Comment